Creating Photorealistic Weapons with ZBrush and Quixel
Creating Photorealistic Weapons
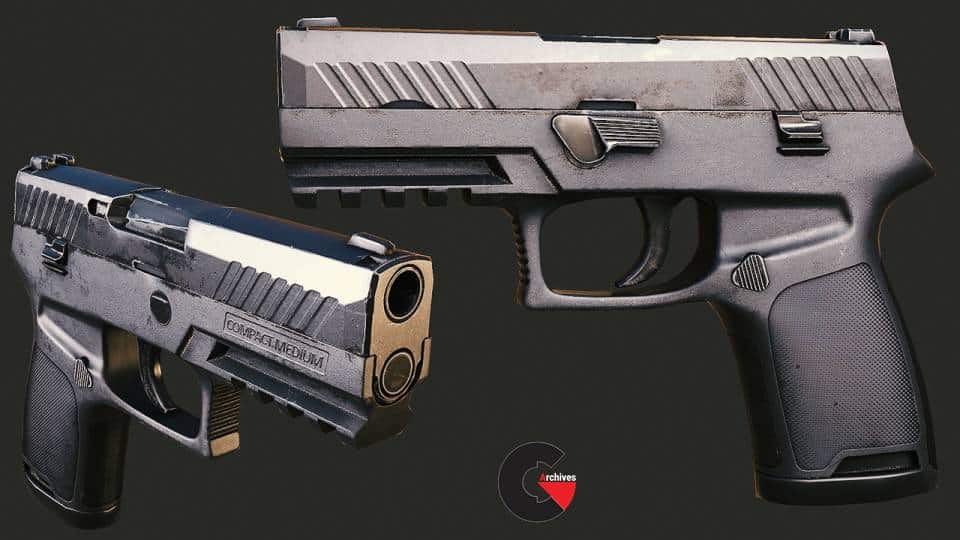
Creating Photorealistic Weapons : Create a photorealistic weapon and brush up on your modeling, sculpting, and texturing skills in ZBrush and Quixel SUITE at the same time. Throughout this course, Creating Photorealistic Weapons with ZBrush and Quixel SUITE, you’ll see the breakdown of the process behind creating photorealistic weapons. You’ll start with an existing high-poly model. On this pipeline, you’ll cover topics such as retopology, UVs, bakes, texturing, and at the end of the course, you’ll publish the final model. You will use the latest industry-standard tools and learn tips and strategies for getting the very best results. By the time you’re finished, you’ll have all the skills you need to begin building your own great-looking, real-time models. Software required: ZBrush 4R7, 3ds Max 2015, Maya 2015, Photoshop CC 2014, xNormal, Marmoset Toolbag 2, Quixel SUITE 2.
Contents :
- 1 Introduction and project overview 01:00
- 2 Scene Setup and Geometry Cleanup 09:19
- 3 Retopology Review 08:32
- 4 Retopologizing the Barrel 09:11
- 5 Retopologizing the Rail 09:09
- 6 Retopologizing the Front of the Gun 08:55
- 7 Retopologizing the Trigger Guard 09:07
- 8 Retopologizing the Trigger Guard and Magazine Release 09:32
- 9 Retopologizing the Handle 09:09
- 10 Retopologizing the Frame 09:17
- 11 Retopologizing the Frame and Hammer 09:30
- 12 Finalizing the Retopology of the Frame and Hammer 09:51
- 13 Retopologizing the Rear Sight and Slide Release 09:18
- 14 Retopologizing the Central Barrel Area 09:39
- 15 Retopologizing the Mid Section of the Gun 09:25
- 16 Retopologizing the Trigger 09:22
- 17 Exporting the Low Poly to 3ds Max 08:54
- 18 Laying out UVs for the Barrel 09:39
- 19 Laying out UVs for the Trigger Guard and Back of Gun 09:00
- 20 Laying out UVs for the Sight 09:29
- 21 Laying out UVs for the Rear Sight 09:26
- 22 Laying out UVs for the Gun Sides 09:47
- 23 Laying out UVs for the Trigger 09:31
- 24 Reviewing UV Layout 07:13
- 25 Organizing the ZBrush Geometry by Material 06:41
- 26 Adding Vertex Color to the Dynameshed High Poly Geo in ZBrush 03:02
- 27 Baking a Tangent Space Normal Map with xNormal 08:40
- 28 Refining the Low Poly Model 04:34
- 29 Finishing Low Poly Revisions and Baking Remaining Procedural Maps 07:53
- 30 Using NDO and 3DO 09:48
- 31 DDO Set Up, Material Introduction, and Dynamask 09:22
- 32 Adding Procedural Dynamask Options, Material ID Masking, and Smart Materials 09:50
- 33 Reloading the Project and Adding Clean Layers 09:05
- 34 Using Mask Painting to Add Oil 09:46
- 35 Adding Dirt and Finger Prints 10:00
- 36 Adding Red Material and Exporting to Marmoset Toolbag 08:44
- 37 Tuning the Materials and Addition Lighting Setup in Marmoset Toolbag 08:05
lB6MwSwNNIYYHz66UqInBRH/video%20g/33237
Direct download links 4 GB :

Direct download link reserved for subscribers only This VIP
Dear user to download files, please subscribe to the VIP member
- To activate your special membership site, just go to this link and register and activate your own membership . >>>register and activate<<<
- You can subscribe to this link and take advantage of the many benefits of membership.
- Direct downloads links
- No ads No waiting
- Download without any limitation ، all content in website
CGArchives Is The Best
Review
Review
Review this tutorial