Get Started with Modeling in Rhino
Get Started with Modeling in Rhino
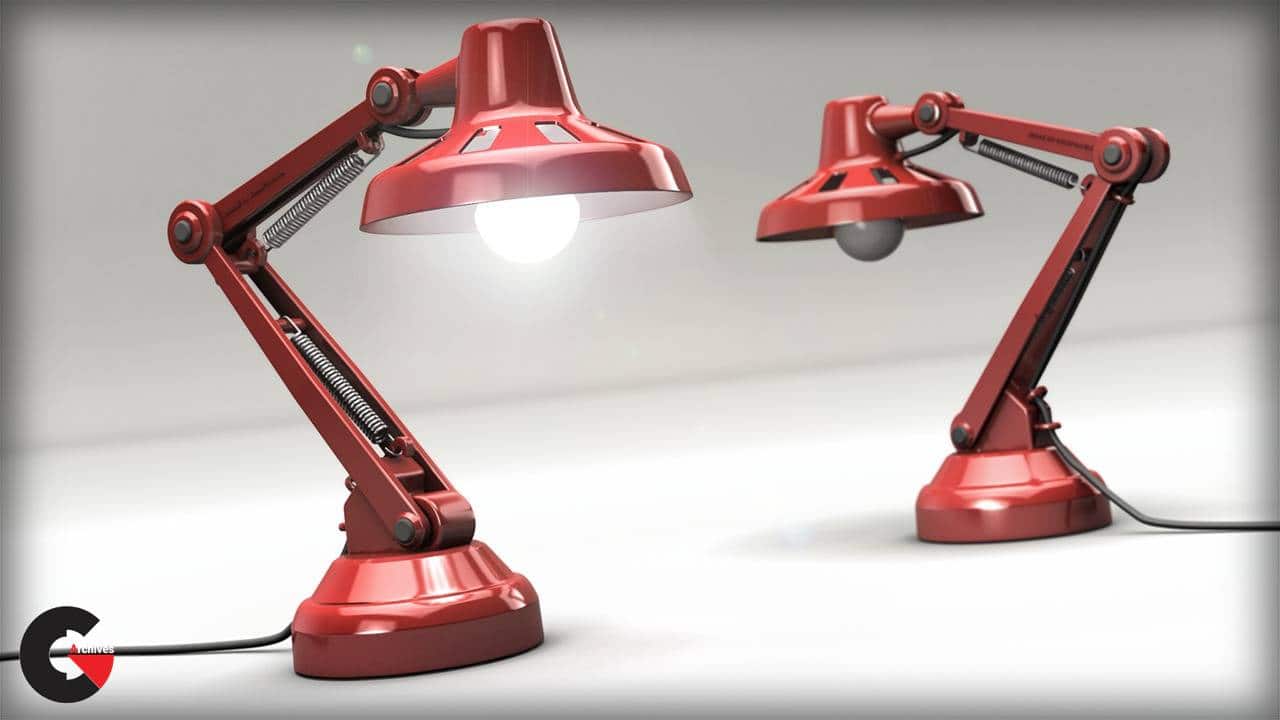
Get Started with Modeling in Rhino : Throughout the following lessons you will be guided through the basic tools and interface of Rhino. We will cover simple 2D CAD including curves and basic shapes as well as how to edit and trim them in order to make simple drawings. Lessons will progress to building 3D geometry with simple to intermediate techniques. Using a basic lamp design project we will cover all the techniques necessary to produce non-organic models for product design as well as covering Rhinos menus and editing tools. By the end of the tutorial you should be able to create simple 2D and 3D objects using most of Rhino’s modeling techniques and have a reasonable understanding of how to take on similar projects.
Contents :
- 01. Introduction and project overview 01:07
- 02. Opening Rhino and covering the basic interface 09:54
- 03. Working with basic geometry 10:00
- 04. Starting a front elevation drawing 10:02
- 05. Finishing our 2D robot drawing 09:05
- 06. Creating a more accurate 2D drawing over an imported image 10:09
- 07. Continuing with the 2D drawing of our lamp design 10:24
- 08. Adding details to the 2D drawing of the lamp 10:32
- 09. Finalizing the 2D drawing and adding layers 10:30
- 10. Finishing off our layers and starting 3D 10:14
- 11. Exploring different methods of 3D modeling 10:07
- 12. Exploring an alternative method of creating the base of the lamp 10:39
- 13. Finishing off our alternative base and moving onto the base mount 10:40
- 14. Finalizing our base mount 10:23
- 15. Moving to the lower arm of our lamp 10:17
- 16. Finishing the lower arm of the lamp 11:01
- 17. Connecting the lower lamp arm to the base 10:24
- 18. Building a spring in Rhino 10:17
- 19. Working with blend curves and surfaces 10:40
- 20. Finishing off the spring and moving onto the upper arm 10:44
- 21. Completing the hook and moving to upper arm 11:08
- 22. Joining the lower and upper arm 10:18
- 23. Creating a bulb cover 10:09
- 24. Finishing the main surfaces of the bulb cover 11:35
- 25. Adding a joint to upper arm and building a bulb 10:25
- 26. Adding functional details to our lamp 10:11
- 27. Adding embossed text details to the upper arm 10:24
- 28. Establishing layers for the 3D geometry 10:42
- 29. Adding a power cable to finish off the lamp 10:09
- 30. Covering some additional intermediate techniques 07:29
lB6MwSwNNIYYHz66UqInBRH/video%20g/34742
Direct download links 1.8 GB :
Direct download link reserved for subscribers only This VIP
Dear user to download files, please subscribe to the VIP member
- To activate your special membership site, just go to this link and register and activate your own membership . >>>register and activate<<<
- You can subscribe to this link and take advantage of the many benefits of membership.
- Direct downloads links
- No ads No waiting
- Download without any limitation ، all content in website
CGArchives Is The Best
Review
Review
Review this tutorial


