FXPHD – FLM211 – Graphic Design in Flame
 Graphic Design in Flame
 Graphic Design in Flame
Graphic Design in Flame : Building upon our successful series of effects-based Flame courses, this course changes tack and focuses on graphics design. Taught by Rob O’Neill, this offering aims to help Flame artists take their design skills to the next level through a variety of projects.
Who should take this course? Anyone who wants to add arrows to their quiver by adding solid design knowledge to the many skills you already possess. As always, O’Neill will be available on the forum to answer questions and help members get the most out the lessons and if you can’t draw; this is for you.
Following a career as a graphic designer, a film editor in television and online editor in various post houses in Australia and Asia Rob O’Neill has spent the last 12 years as the Creative Finishing Specialist for Flame and Smoke at Autodesk in Australia. Over the past three decades, I have worked on thousands of commercials and episodic television series and more recently focussing on training Flame and Smoke artists to get the most out of these amazing tools. O’Neill considers editorial, graphic design and shooting extra elements part of the job and as such are ready for anything; especially the most challenging projects.
course syllabus
CLASS 1
We start creating something from nothing. Let’s build a 3D logo that could be a movie banner or TV News opener out of glass using only Flame’s built in tools.
CLASS 2
We look a different style of graphic work using Batch. We will create a watercolor style look to a Japanese character and vary the technique to create interesting graphic effects with clouds.
CLASS 3
We look at techniques you can use in broadcast design or commercials. We look at the character axis tool for 3D text in Action, displacement mapping and shadows to create a simple “Netflix” style animation. We also create an involved 3D grid environment entirely in Action using text and primitives for a clean minimalist look. We also show how to make a trapcode style path in Flame as well as particles making vapors following a light source as it orbits and lights some 3D text.
CLASS 4
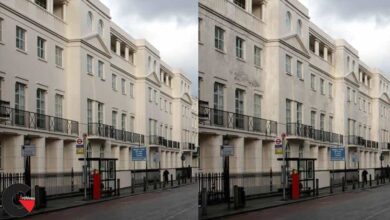
We look at “Graphics in Environments”. With the help of Action, Substance Textures, IBL’s, Lighting and Shadows we explore some of the possibilities when placing 3D text or 2D logos in helicopter shots of rivers, building forecourts or beaches.
CLASS 5
We look at instancing and Replica as tools for motion graphics. We will look at instancing for the benefit of those of us who also use Smoke without the Replica tool to achieve the same result. There is a setup for an Art Deco style piece for you to examine that uses Replica as a background effect.
CLASS 6
Lighting, lens flares, rays, fog and grunge in graphic design. Atmospherics. Action and Matchbox make a great artists palette.
CLASS 7
We focus on typography and color as design tools. There are no setups in this class as the demonstrations are more theoretical although everything was created in Flare or Flame. We cover typographic layout, recommended kerning and leading values in text and how to arrange type for a particular style. We look as well at opposite and complementary colors interacting with luminance to create various psychological effects.
CLASS 8
We look at the desktop paint module in the Tools menu. We look at the main differentiator with its sister node in Batch; Autopaint. We explore some of the possibilities for artists to conjure effects with a difference using a tool that is regarded somewhat unfairly as outdated. In particular we make graphics using various clips to influence brush strokes as well as tracking paint brushes to images.
CLASS 9
We look at a few miscellaneous tips that Rob has collected over the years. Although some are similar to what can be achieved using Sparks they are still worth watching if you like your effects to be unique in comparison to the easily repeatable plug-in looks we often see. The tips we will investigate include a crystal ball, simple starbursts and rays for logo design utilizing the Motif node. We also take another look at Atomize as a tool for transitioning graphics.
CLASS 10
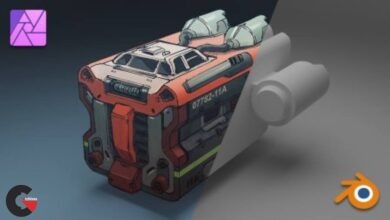
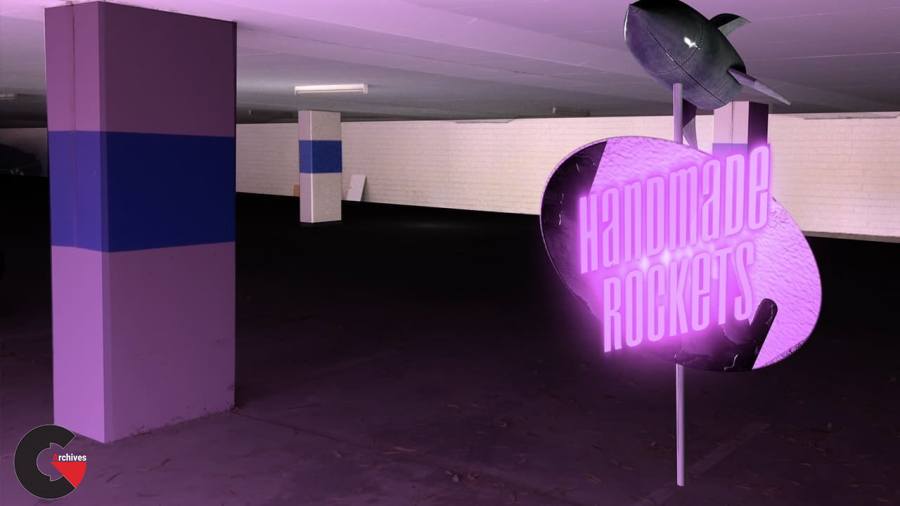
We build a 3D sign out of almost nothing…well, we do employ SVG elements from Illustrator just like you might do on a real job. As part of our 3D sign, we create a Flash Gordon style rocket with shiny metal finish only utilizing 3D shape’s tools. Action offers us Projection mapping in a Diffuse Map image so we can add interactive lighting to an otherwise flat photograph to finish our effect.
lB6MwSwNNIYYHz66UqInBRH/video%205/38612
Direct download links 3.7 GB :

Direct download link reserved for subscribers only This VIP
Dear user to download files, please subscribe to the VIP member
- To activate your special membership site, just go to this link and register and activate your own membership . >>>register and activate<<<
- You can subscribe to this link and take advantage of the many benefits of membership.
- Direct downloads links
- No ads No waiting
- Download without any limitation ، all content in website
CGArchives Is The Best
Review
Review
Review this tutorial