Stylized Cyberpunk girl in Zbrush course
 Stylized Cyberpunk girl
 Stylized Cyberpunk girl
Stylized Cyberpunk girl in Zbrush course : Would you like to be able to create a stylized face? A stylized body, clothes and let’s be honest – a whole character? Then maybe you have come to the right place!
Requirements
- You have to be intermediate Zbrush user
My name is Niko and i’ve been a 3D character artist for over 11 years. My passion were always the stylized characters and with more than 20 stylized characters done by me in last 2 years i feel ready to teach you how to do one yourself.
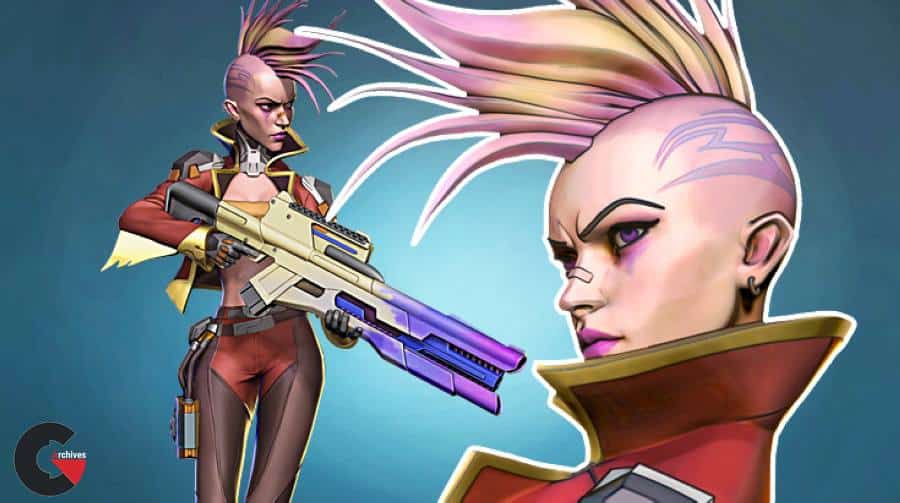
In this course, if you choose to accept it, you will learn how to create a stylized female cyberpunk character with clothes, accessories and a big gun from concept. All from scratch, all only in Zbrish, using the latest technology and of course the great concept from @artofmaki.
We will start with two short videos of customizing the Zbrush UI and making a custom menu with most used operations for more efficient and fast workflow.
We will then really start the model, by making the head. I will talk about head anatomy, common mistakes and ways to stylize. Then we will make the eyes and will model the interesting mohawk hair. After that we will make the torso, hands, feet and fingers, while talking about anatomy and stylization too. Then we will start our 3D sketch in order to imagine better what the character will look like when fnished. Next we will turn our attention to the individual parts of her clothing and accessories by starting with the jacket. After that we will do the hard surface modelling of the shoulders and her collar or neck armor. Then we will jump to the gloves and also the belts. We will struggle a bit, but finaly triumph with the making of the gas mask on her hip.
After that we will get to the knee pads and go straight to model the boots. The boots will take us some time and effort, but we will be victorious in this battle too.
Then it will be time to make the weapon, which is the most complicated hard surface part in our character, but i will guide you so smoothly trough the process of making it from simple forms to the details, that you will never think of making hard surface things outside of Zbrush ever again!
Then, after we combine the weapon with our girl, the work on the game ready high poly mesh will be completed. We will continue, though, because for presentation, a nice pose always wins over a t-pose. And we will make the pose from the concept.
There will be drama, tears, laughter and finaly we will, once again be victorious and with happy hearts will do render passes and combine them in Photoshop to achieve the final beauty render.
This course is mainly for intermediate Zbrush users, but if you are a beginner and you feel adventurous, you may give it a try (and after the first few videos go and check out my Absolute beginners Zbrush course, and then get back to this one .
So do you feel like learning some new skills, tricks and improving yourself? If so, i will wait for you in the first video of the course! Aaand also in all the others.
Who this course is for:
- Intermediate Zbrush users who wants to learn the art of stylized characters
What you’ll learn
- Creating a stylized anatomy
- Creating hard surface weapon and accessories in Zbrush
- Posing and rendering with Zbrush and Photoshop
lB6MwSwNNIYYHz66UqInBRH/video%205/40575
Direct download links 34.8 GB :

Direct download link reserved for subscribers only This VIP
Dear user to download files, please subscribe to the VIP member
- To activate your special membership site, just go to this link and register and activate your own membership . >>>register and activate<<<
- You can subscribe to this link and take advantage of the many benefits of membership.
- Direct downloads links
- No ads No waiting
- Download without any limitation ، all content in website
CGArchives Is The Best
Review
Review
Review this tutorial