Photoshop 2021 One-on-One: Advanced
 Photoshop 2021 One-on-One
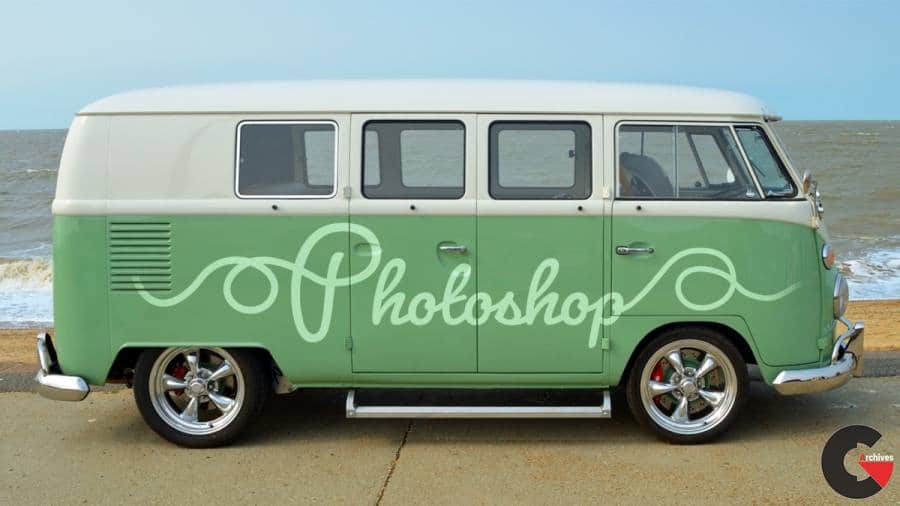 Photoshop 2021 One-on-One
Photoshop 2021 One-on-One: Advanced : Now every one of the features we’ll be looking at is a filter with the exception of the sharpen tool. Of course, we want to keep the filters editable. And as we’ll see, you’ll also want to give yourself room to blend the filtering effect after applying it. So the first thing we need to do is convert this image to a smart object. And incidentally, this is another one of those wild creatures that I captured in Indonesia’s Lambe street. And it was such a successful experience that I managed to convince the photo pro to join me in a full course on DSLR underwater photography. This guy is amazing, so keep an eye out for that. All right but back to the topic at hand, I’ll double click on the background layer here inside the layers panel to bring up the new layer dialogue box and I’ll go ahead and name this layer fish and press the Enter key or the Return key on the Mac. Now I’ll right click inside the image window with my rectangular marquee tool, very important, and choose convert to smart object. All right now to get to the sharpen filters, you go up to the filter menu, choose sharpen, and then choose one of these commands. Now notice three commands right here, sharpen, sharpen edges and sharp more do not have dot dot dots after them, which means that they don’t bring up dialogue boxes so you can’t customize the effect. And as a result, they’re not really particularly useful. Now this guy sharpen more that’s the biggest of the effects. And so if I choose it, that should give us kind of an idea of what’s going on. And I’m guessing you can’t even see the difference in the video. So this is before, and this is after. That’s how modest that sharpening effect is. And the reason for this, is that these are very old commands that were designed for lower resolution images. And so if I were to press Control + 1, or Command + 1 on a Mac to zoom into a hundred percent and then show you the before version of the image versus the after version, perhaps now you can see the difference. And so sharpen more might work for you if all you want to do is sharpen the detail in a web image. But if your destination is print or a high DPI device, then this isn’t going to work out for you. So I’ll just go ahead and press Control + Z or Command + Z on the Mac to undo that effect. And instead, we’re going to start with the most basic command that allows you to customize the effect and that is unsharp mask. So go up to the filter menu, choose sharpen and then choose unsharp mask. It has a weird name because it’s based on an old school conventional technique where you would take the image, blur it, and then invert it and apply it as a mask over the original image. And believe it or not that results in sharper details. All right, so I’ll just go ahead and choose the command. And notice that we have this inset preview right here which you can drag if you want to to a different location, you can zoom out and you can zoom in and you can also just click on a detail inside the image in order to pan to that location. Another option that’s available to you is to control click or command click on the Mac in order to zoom in or you can Control + Alt or Command + Option click to zoom out, and you can also space bar drag in order to scroll the image around. All right but I’m going to press Control + 0 or Command + 0 on the Mac to center my zoom so that we can focus on these three numerical values. The first one allows you to adjust the amount of sharpening. So in other words, a lower value is going to give you less sharpening, a higher value is going to give you more sharpening. And your maximum by the way is 500% at which point you can see a lot of sharpness going on. Now, notice what’s happening here. I just want you to see that, I’ll go ahead and take this value down. Notice that unsharp mask is essentially brightening the bright side of an edge. And remember an edge is an area of rapid luminance transition. So it’s brightening the bright edge and darkening the dark edge. In our eyes we read as a sharper edge, which means that if we crank this guy up here, we get sharper details. Now the thickness of that edge is determined by this next value, which is the radius value. So if you want very, very crisp edges, you want to take that radius value down. And 0.5 is about as low as you’re going to go. I believe the lowest where you can actually see a difference is 0.3. And that would be the kind of thing you’d use for once again, low res screen images. So the kinds of images that you’re sending to the web. If you’re building an image for print or for the sort of high DPI displays associated with devices, such as iPhones and the like, then you’d want to crank this value up to something like three is pretty typical. And I know this looks completely over the top but that’s because the amount value is cranked so very high. If you’re looking to create clarity instead of sharpness, then you would take this radius value up to something like let’s s.
lB6MwSwNNIYYHz66UqInBRH/video%205/44662
Direct download links 12.2 GB :

Direct download link reserved for subscribers only This VIP
Dear user to download files, please subscribe to the VIP member
- To activate your special membership site, just go to this link and register and activate your own membership . >>>register and activate<<<
- You can subscribe to this link and take advantage of the many benefits of membership.
- Direct downloads links
- No ads No waiting
- Download without any limitation ، all content in website
CGArchives Is The Best
Review
Review
Review this tutorial
![Udemy - Handpainted 3D Weapon Course [FULL WORKFLOW]](https://cgarchives.com/wp-content/uploads/2024/05/Udemy-Handpainted-3D-Weapon-Course-FULL-WORKFLOW-390x220.jpg)