 NeatScatter for 3ds Max
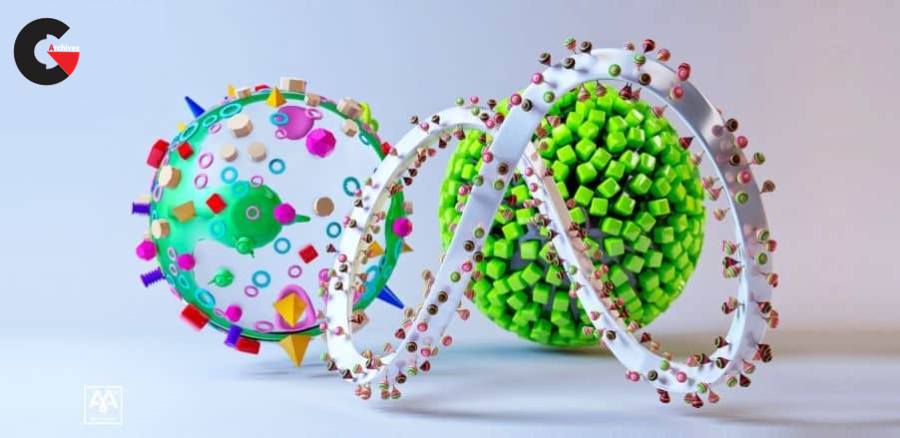
NeatScatter for 3ds Max : The plugin is used for scattering large amounts of objects over an area according to predetermined parameters. There is always one target object, and the scatter target area is determined by a texture. If you wish to scatter over multiple objects, you must add a new NeatScatter object for each target in the scene. The scattering is generated in groups. Each group can have different parameters and different models. The groups are generated sequentially, one after another, and the new models are placed in empty spaces without colliding with previous groups. After the completion of the scattering, the user can delete parts of it and regenerate the scattering in the empty space. The scattering can also be converted to a single mesh or to individual instances. Therefore, it can be used, among else, with Modifiers or other native tools just like any other 3DS Max object. You can also choose to scatter procedural objects, particle sources or lights, which do not have a geometry and specify different objects as their collision mesh.
INSTALLATION
The installer will guide you through the installation process. You will be asked to specify a path for your 3DS Max installation, so that the plugin can be copied into the Plugins directory. Alternatively, you can install the plugin .dlo file in a separate folder, and load it from 3DS Max yourself. You then also choose where to install the plugin data. This is where all the configurations, icons, and models will be saved, and you can extend them or modify them within some limits. You can also install the V-Ray extension for plugin rendering in V-Ray. In the end, if you are using a commercial version, you will also have to provide the license code. We also recommend you create a Desktop shortcut for the installation directory, so you can easily access it to add new models or configuration files. After the installation, you can start 3DS Max and start using NeatScatter.
ADDING PLUGIN INTO SCENE
First you need to add the NeatScatter object into the scene. The NeatScatter object is created by CLICK+DRAG, and there is a 2D icon to show where the NeatScatter object has been added. This icon is used for scatter interaction – you select the scatter object in the scene by clicking on the icon. The icon stays where you initially place it, and marks the object’s pivot. If you want to move the icon, move the pivot position.
SELECTING THE TARGET
Before scattering, you have to select the target mesh. Click on the Select Target button and then click on any object in the 3D Viewport. The target has to be an object convertible to a triangle mesh, otherwise it will be ignored.
The text field in the Target Mesh tab is filled with the target object name. If the target node is deleted, the NeatScatter automatically changes its target mesh to none, and the generation cannot proceed.
SETTING THE PARAMETERS
Before you can generate the scattering, you must set up the parameters. The main parameters of the scattering are the following:
MODELS SELECTION:
Models to be scattered can be selected from prepared models loaded in the application with the plugin, or any other model from the scene, which can be converted to triangle mesh. All these models appear in the selection dialog automatically. Alternatively, you can also scatter objects that are inconvertible to triangle mesh, if there is another Node in the scene with the same name, but with a convertible “_nscollision” suffix. Said objects also appear in the list – the originals, not the “_nscollision”. When starting the scattering, you must check the Use collision objects checkbox, otherwise said models will be omitted. Models are organized in Sets – in the selection dialog Sets are automatically added for each layer, container or named selection in the scene, with all the models already being added to the Set. You can therefore easily create your own Set by creating a new layer or named selection and adding objects therein. In the dialog, you can select which Sets are going to be used for scattering by checking their checkboxes. When clicking on the Set icon, at the right part of the screen appears a probability slider to specify the probability of selecting this Set during the distribution process. Also, there appears a list with all the models in this Set. You can then specify particular models, and their probability of selection when this Set is being used.
DISTRIBUTION MASK:
Scatter is always random over the entire area of the target object. You can specify a bitmap texture to work as a Distribution Mask. Algorithm then reads the color value at a given point, as a greyscale value, ranging from 0.0 to 1.0, and uses this value as a probability to determine if a model should be placed at said point. Areas with a value of 0.0 will therefore end up empty, areas with a value of 0.5 half-empty etc.
This sets the minimum distance between the models. The algorithm attempts to reach the minimum, placing one sample after another, but usually the models end up being a little farther apart, depending on how well the models fit. The distribution works randomly, so some models placed close to each other can delineate an area where no further models will fit. However, the distance will never be less than the minimum and the samples will not overlap. The distance can also be a range. For each placed model, the algorithm randomly selects a value from the range, and assigns it to the model. Any subsequent model cannot be placed closer to this model than the chosen distance. You can also guide the distance by bitmap texture: a value of 0.0 means the minimum of the distance range will be assigned to placed models whereas a value of 1.0 the maximum. The algorithm uses two ways for computing the distance between two objects – user can select which one they prefer in the Generation parameters tab
- Sphere Approximation: The algorithm computes the bounding sphere for each scattered model and the distance between the models is calculated as the distance between their bounding spheres.
- Convex hull: The algorithm computes convex hulls of scattered models and the distance is calculated as the distance between the hulls. This produces a more accurate representation but the distribution can be more time consuming.
DIFFERENT COLLISION MESH:
When setting up the minimum distance, you can also indicate to use a different collision mesh for any of the models to be used in the distance calculations (this is a global setting in the Generate parameters, near the Generate button – but it will only be used for models which have the collision mesh object present). Your collision mesh can be smaller or larger than the actual object, to create various effects (lightly overlapping objects when the collision mesh is smaller…). It is also recommended to create a simple geometry collision mesh for highly complex models. After the scattering is completed, the real original objects are rendered – the collision objects are used only to compute the distance. To use a different collision mesh than the scattered object, add a new object into the scene, with the same name as the object you want to scatter and add the suffix “_nscollision”. For example, if you want to scatter an object named “Sphere”, its collision object must be named “Sphere_nscollision”. Then just check the checkbox to use collision objects in the Generate tab and the mesh will be automatically detected. An object that does not have a collision mesh specified will use itself for collisions, so you do not have to create collision meshes for all objects you want to scatter.
Watch the Introduction Video:
lB6MwSwNNIYYHz66UqInBRH/video%202/19588
Direct download links 25 MB :
Direct download link reserved for subscribers only This VIP
Dear user to download files, please subscribe to the VIP member
- To activate your special membership site, just go to this link and register and activate your own membership . >>>register and activate<<<
- You can subscribe to this link and take advantage of the many benefits of membership.
- Direct downloads links
- No ads No waiting
- Download without any limitation ، all content in website
CGArchives Is The Best
Review
Review
Review this plugin
 NeatScatter for 3ds Max


