Motion Graphics
 Motion Graphics
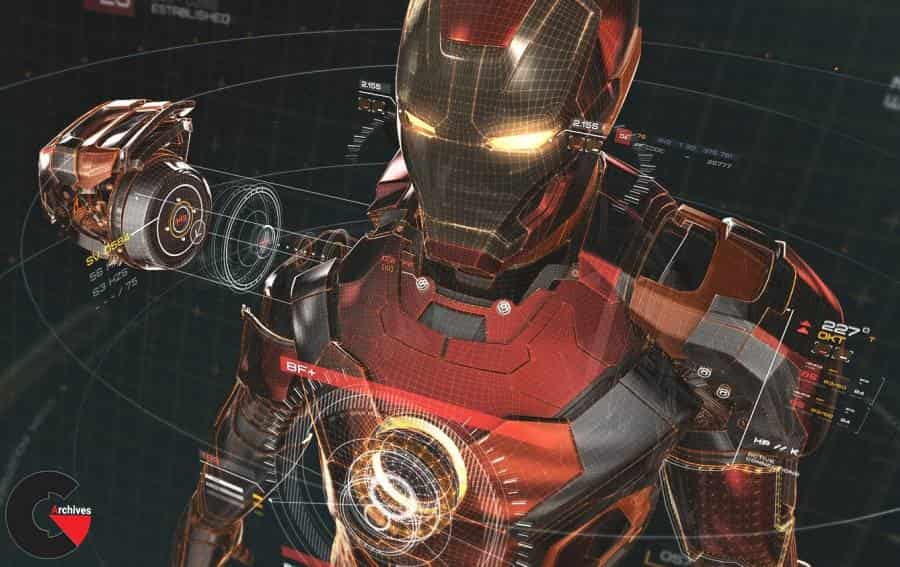
Motion Graphics is the perfect course for those taking a fresh leap into the world of motion graphics, those wanting to sharpen their existing skills, and everyone in between. Covering the fundamental principles that go into making exceptional motion graphics—concept, design, animation, 3D design, rendering and compositing—this course has been created with professional output in mind. The key to creating outstanding work is nailing these three key areas: concept, design, and execution. This course will cover the core processes involved in conceptualizing and executing a motion graphics sequence, using tried and tested industry-standard methods.
COURSE FORMAT: Standard
LECTURE TYPE: Pre-recorded
FEEDBACK: Individual recordings
DURATION: 8 weeks
MATERIALS: Cinema4D, Adobe CC, Xparticles, Octane (optional)
SKILLS LEVEL: Intermediate
PREREQUISITES: Basic understanding of Cinema4D’s interface and Adobe’s Creative Cloud
The more you know, the better.
Week 1 | Introduction to Motion Graphics
In this first week, we’ll explore and optimise our C4D and After Effects workspaces. Go through the ideation process and outline some basic theory around design, 3D design and animation | Introduction to software used in course | Introduction to basic motion graphic principles | Design | Establishing a concept/direction | Consolidating your idea
Week 2 | 3D Design and Art Direction Part 1 – Modeling Hero Content
Now that we’ve got our workspaces set up and a grasp on some basic fundamental principles, it’s time to get designing. In any motion graphics project, one of the first things you’ll want to do is create a set of strong visual targets: styleframes. | Introduction to subdivision surface modelling | Using C4D deformers to aid the modelling process | Points, edges, polygons, topology | Camera selection for the right shot feel
Week 3 | 3D Design and Art Direction Part 2
Once we’ve modeled our main assets and setup up a rough composition for the scene, we’ll continue to set up shaders, lighting and render settings. For your render to really pop, you need all four (geometry, shading, lighting, rendering)of these components to work in harmony. | Introduction to texturing principles in C4D/Octane (theory applicable to any render engine) | Texture mapping and setting up shaders | Introduction to lighting and mood | Setting up render passes
Week 4 | 2D Design and Art Direction
Now that we’ve modeled, textured, lit, and rendered our scenes, it’s time to take those render passes into After Effects and give them some compositing love. We’ll also build up a library of vector assets in Adobe Illustrator and use them to populate our scenes with some 2D graphics. Throughout this process we will solidify our concept/narrative by finessing our designs and lay a solid foundation for when we transition into the production phase and begin animating our scenes.
Week 5 | 3D Animation
With our visual targets set, it’s time to jump back into C4D and animate our scenes. In this session we’ll go deep into C4D’s animation timeline and cover techniques from tweaking your f-curves to baking animation to render over a network. We’ll also explore how to use C4D’s deformers and mograph modules to bring your models to life. | Creating animatics for timing | Rigging your setups for animation | Animation using falloff | Animation using vertex maps | Camera animation | Tweaking those curves for dynamic animation
Week 6 | Rendering
Rendering is a hot topic right now filled with much debate. GPU vs CPU rendering? Which machine should I buy (Mac vs PC)? This week Nik will share his thoughts and experiences on GPU vs CPU rendering as well as the hardware he’s built to optimize his workflow. We’ll also go through rendering our scenes using a popular GPU renderer –Octane—and will also take a brief look into rendering the same scenes with C4D’s standard render and Arnold render, exploring the benefits each render engine has to offer.
Week 7 | 2D Animation
This week, we’ll take our vector graphics that we designed in week 4, pull them into After Effects, and start animating them. This session will include rebuilding assets as shape layers for optimal file size and efficiency and creating transitional elements to populate our sequences. We’ll go deeper into the After Effects timeline and explore keyframe interpolation and f-curves.
Week 8 | Compositing Sequence
In this final week we’ll bring it all together. We’ll take our renders from C4D and our animated vector graphics and pull everything into a fully formed motion graphics sequence inside of After Effects. Adding little flourishes throughout, from speed ramps to trimming frames off our edit and adding a final grade. This is the final chance to take your sequences to the next level and get it ready for sound design.
Watch the Introduction Video :
lB6MwSwNNIYYHz66UqInBRH/video%203/31138
Direct download links 11.8 GB :

Direct download link reserved for subscribers only This VIP
Dear user to download files, please subscribe to the VIP member
- To activate your special membership site, just go to this link and register and activate your own membership . >>>register and activate<<<
- You can subscribe to this link and take advantage of the many benefits of membership.
- Direct downloads links
- No ads No waiting
- Download without any limitation ، all content in website
CGArchives Is The Best
Review
Review
Review this tutorial