cgcookie – Texturing & Shading a Stylistic Character
 Texturing & Shading a Stylistic Character
 Texturing & Shading a Stylistic Character
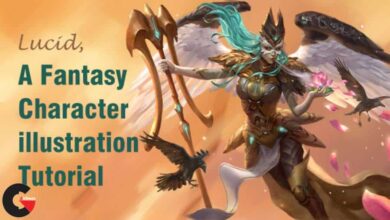
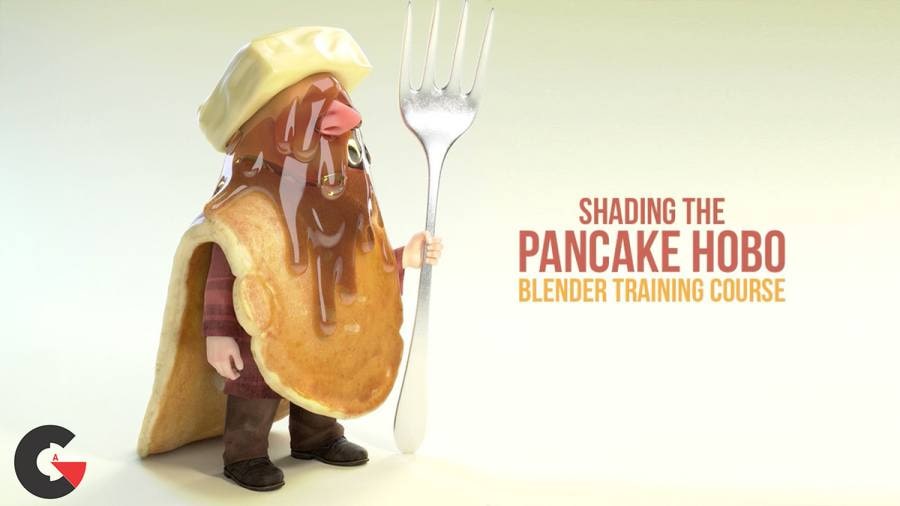
Texturing & Shading a Stylistic Character : Make your Cycles materials more tangible and appealing! In computer graphics, “shading” is the process of developing surface qualities for 3D models. The way your model interacts with light is very important. It’s a key step in achieving realism, tangibility, believability, and appeal. If you ever have doubts about this, go watch the film “Rango”. The artists responsible for the visuals in that film clearly spent a lot of time perfecting the thousands of material types throughout the movie. The tangible quality of each eyeball, rock, wood board, and glass bottle is nothing short of stunning. The materials are so believable that you can forget to notice them because your brain accepts them as authentic. If you’re new to the concept of shading, the best place to start is to intentionally observe reality. Take note of your car’s reflections; the spotty specular quality of an asphalt road; or the frosted transparency of a condensating glass of water. Lucky for you and I, scientists have done the hard work of measuring reality’s phenomenon and programmers have mathematically implemented them into 3D software like Blender. Thanks to those rockstars we have the freedom to use their discoveries and tools to more efficiently create something beautiful. Speaking of something beautiful – For this course we’ll be working with the lovable “Pancake Hobo” character designed by Citizen user, Galit Weisberg!
So, how does one “Shade”? Shading is more than simply building custom materials. Texture painting and Lighting go hand-in-hand with material creation and all three disciplines compliment one another. Therefore, the first half of this training course covers Texture Painting and associated tasks: – Photo-sourcing and stenciling – Paint-by-Hand – Deriving a bump map from a color map – Making non-tileable textures tileable Then we’ll dive into material creation by first establishing a solid lighting setup before tackling each material one by one: – Metallic Objects: The Fork – Fabric Material – Translucence/Subsurface Scattering: Butter, Skin, and Pancake – Transparency/Refraction: Maple Syrup – And more!
lB6MwSwNNIYYHz66UqInBRH/video%205/40365
Direct download links 2.2 GB :

Direct download link reserved for subscribers only This VIP
Dear user to download files, please subscribe to the VIP member
- To activate your special membership site, just go to this link and register and activate your own membership . >>>register and activate<<<
- You can subscribe to this link and take advantage of the many benefits of membership.
- Direct downloads links
- No ads No waiting
- Download without any limitation ، all content in website
CGArchives Is The Best
Review
Review
Review this tutorial