Victory3D – Realistic Fantasy Game Environment Creation
 Realistic Fantasy Game Environment Creation
 Realistic Fantasy Game Environment Creation
Realistic Fantasy Game Environment Creation : Learn How to Make a Professional Game Environment using Maya, Substance Painter & Designer, Marmoset, Unreal, SpeedTree, & Photoshop.
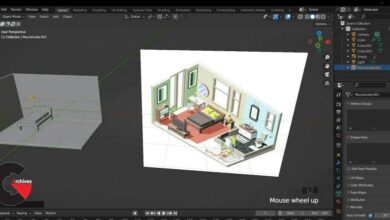
Hello everyone! And welcome to this very exciting tutorial course on how to create a game environment from start to finish.My name is Emiel Sleegers, I am a senior 3d environment artist who have years of experience working for AAA game studios and I will be your tutor for this course. In this course we will go over on how to create a Realtime game environment completely from scratch.That means that we will make it 100% from start to finish and we will have 95% of this tutorial in real time.
For this course we will be using Maya, Zbrush, Substance painter and designer, a tiny little bit of photoshop, marmoset toolbag, Speedtree and unreal engine 4.
Now, this tutorial is targeted towards intermediate artists, these are artists who are already familiar with the tools I just mentioned but just want to learn the workflows and techniques to creating a video game environment.
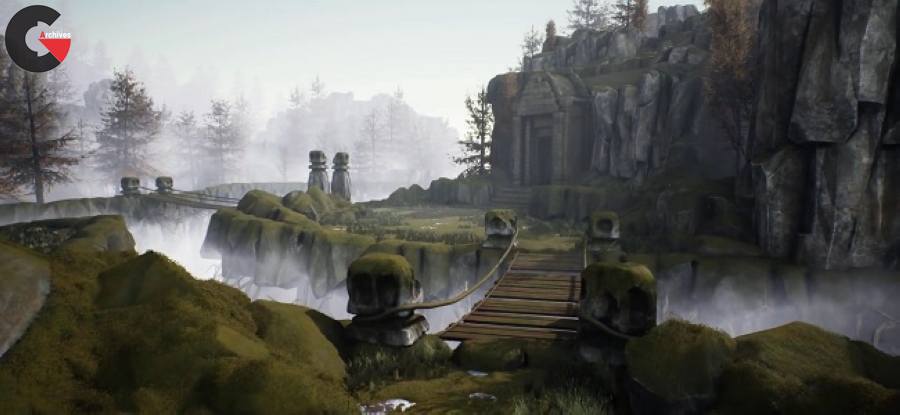
As a quick little overview. We will start this course off with going over our reference and discussing on how we are going to create this environment We will then start by making a nice blockout of the environment so that we have accuracy in the scaling and composition.We will first focus on the rocks since those are one of the main components in this tutorial.This means we will first complete all the rock sculpts in Zbrush. Setup the low poly in maya and bake the rocks in marmoset toolbag.Then we will create a rock material inside of substance designer and a special material inside of unreal engine to make the rocks look amazing. For this we also need to quickly create a special mask in substance painter which will give us control over the dirt amount and highlights of the rocks.
After we have done all that we will move on to our moss system, since this is probably the second most important thing in this environment.
I will start by creating a moss material inside of substance designer.
Then I will show you how to use this material to create both procedural moss and hand made fuzzy moss for all your rocks.
Finally, we will start by setting up our environment, doing lighting and composition passes. We will create some foliage inside of speedtree and placing it in our scene. We will create our temple building along with special tileable edge damages. And once we are happy with the entire environment, I will show you how to create some final portfolio screenshots and flythroughs.
lB6MwSwNNIYYHz66UqInBRH/video%205/43009
Direct download links 15.5 GB :

Direct download link reserved for subscribers only This VIP
Dear user to download files, please subscribe to the VIP member
- To activate your special membership site, just go to this link and register and activate your own membership . >>>register and activate<<<
- You can subscribe to this link and take advantage of the many benefits of membership.
- Direct downloads links
- No ads No waiting
- Download without any limitation ، all content in website
CGArchives Is The Best
Review
Review
Review this tutorial