Photoshop CC 2017 One-on-One Advanced
Photoshop CC 2017 One-on-One Advanced
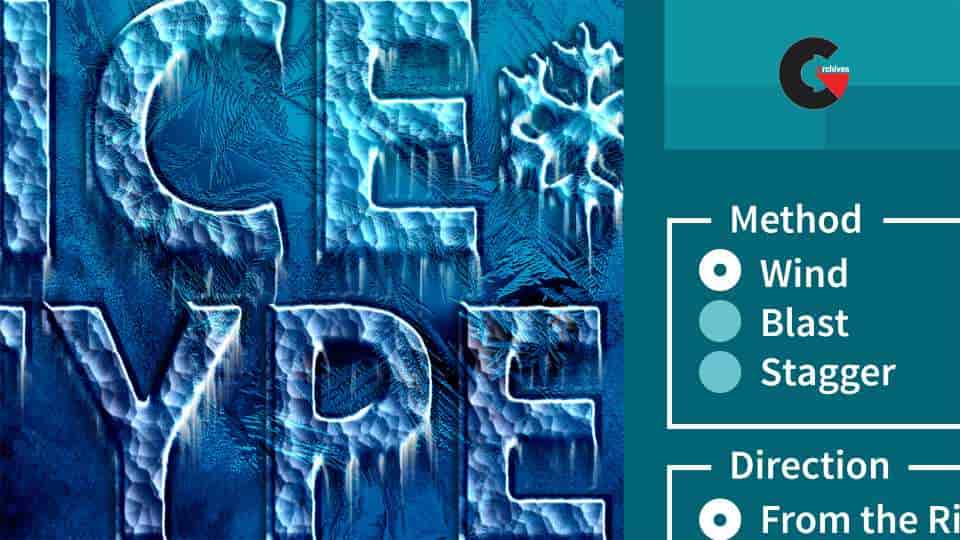
Photoshop CC 2017 One-on-One Advanced : Take your Photoshop skills to the next level. This advanced course is the second installment in the comprehensive one-on-one training series by industry expert Deke McClelland. Learn what you need to know about Photoshop, in the order you need to know it, on the schedule that work best for you.
In this course, Deke takes you through advanced Photoshop features including automated selection tools, color range, focus area, and refine edge features. Additionally, the nondestructive editing workflows are demonstrated. Uses for Smart Objects, Liquify—for slimming and trimming—and techniques for drawing and designing with vector shapes are shown. Plus, discover how to improve a photo with poor composition by reconstructing it with Content-Aware Scale, healing tools, and blend modes. These tutorials feature all-new projects and exercise files, so there’s something new for even long-time Deke fans.
New in 2017: Chapters 16–30 offer a whole new way to work with Photoshop CC. This new set of tutorials covers layer effects, Levels and Curves adjustments, lens corrections and perspective warping, black and white photography, and so much more.
Contents :
- Selecting objects in photographs
- Refining masks with the Smudge tool, Refine Mask, and Refine Radius
- Using the Focus Area tool
- Skewing and distorting a layer
- Transforming and duplicating in one operation
- Warping text
- Creating and masking Smart Objects
- Applying Smart Filters
- Nesting Smart Objects
- Using Content-Aware Scale
- Applying stack modes
- Using the Liquify filter
- Drawing custom vector shapes
- Adjusting contrast, color, and luminance with blend modes
- Photoshop CC 2017 One-on-One
16. Color Range and Focus Area
The best in automated selections 1m 23s
Introducing the Color Range command 6m
Customizing a Color Range selection 4m 38s
Localized Color Clusters and Detect Faces 6m 57s
Selecting a real-world photographic object 4m 40s
Cleaning up with the Wand and Brush tools 9m 51s
Refining your mask to absolute perfection 12m 49s
Shading the airplane to match the sky 7m 15s
Infusing the airplane with sky colors 6m 20s
Adding a custom Motion Blur effect 4m 27s
Adding a rocket plume 4m 32s
Introducing the Focus Area command 4m 31s
Using the Focus Area tool 4m 50s
Cleaning up a jagged Focus Area mask 9m 42s
Finessing hair and other details 7m 25s
17. Layer Masks and Edge Refinement
Compositing like a pro 2m 2s
Static selection vs. dynamic layer mask 6m 35s
Perfecting mask edges with the Smudge tool 4m 46s
White reveals, black conceals 6m 43s
Real-world layer masking 7m 21s
Combining multiple passes of Color Range 6m 38s
Painting away gaps in a layer mask 11m 55s
Making your mask the best it can be 11m 32s
Feather and Density = even better hair 8m 12s
Introducing the Select and Mask command 5m 19s
The Global Refinements settings 4m 18s
Edge Detection and Smart Radius 6m 54s
Refine Edge Brush and Decontaminated Colors 5m
Turning day into night with Camera Raw 2m 46s
Blending hair into a nighttime sky 8m 32s
18. Scale, Rotate, Skew, and Warp
Meet the transformations 1m 32s
Introducing the Free Transform command 7m 9s
Skewing and distorting a layer 5m 31s
Bending and otherwise warping a layer 6m 54s
Creating a cheerful bat-faced moon 5m 51s
Real-world scaling and compositing 8m 8s
Quick-and-dirty layer masking 4m 25s
Transform and duplicate in one operation 8m 2s
Removing the color from a layer 5m 17s
Transforming a selection outline 5m 49s
Repeating one or more transformations 8m 32s
Transforming and warping text 8m 31s
Filling text with a warped gradient 6m 24s
19. Smart Objects
Indestructible envelopes 1m 46s
Three ways to create a smart object 4m 51s
Applying nondestructive transformations 7m 14s
Applying nondestructive distortions 6m 21s
Masking smart objects 8m 53s
Editing the contents of a smart object 10m 2s
Applying editable smart adjustments 6m 44s
Applying and blending smart filters 6m 43s
Editing a filter mask 6m 53s
Applying Camera Raw as a smart filter 5m 30s
Opening a Camera Raw smart object 3m 39s
Two ways to duplicate a smart object 5m 45s
Protecting editable text 5m 8s
Using nested smart objects 5m 25s
Editing text inside a nested smart object 3m 12s
Pasting smart objects from Illustrator 6m 3s
Applying Photoshop effects to Illustrator art 4m 29s
Troubleshooting Illustrator smart objects 4m 58s
20. Image Reconstruction
Restoring missing details 45s
“Uncropping” a photo by expanding the canvas 5m 11s
Using the Content-Aware Scale command 7m 36s
Restoring a missing photographic element 9m 42s
Fitting an image to a custom print size 8m 23s
Applying an image stack mode 6m 47s
Combining a stack mode with spot healing 4m 5s
Erasing people with the Median mode 7m 19s
Blurring away registration problems 4m 21s
Auto-blending multiple depths of field 6m 34s
Auto-blending with more flexibility 5m 35s
21. Liquifying an Image
Perfecting the human form 1m 13s
Introducing the Liquify filter 8m 7s
Using the Pucker and Bloat tools 9m 29s
The Twirl, Push, and Smooth tools 7m 2s
Using Liquify’s masking tools 8m 23s
Face-Aware Liquify 5m 29s
Special face-recognition scenarios 5m 21s
Making direct edits with the Face tool 3m 59s
Resetting any and all facial features 3m 55s
22. Vector Shapes
Photoshop’s alternative to pixels 1m 15s
How vector-based shape layers work 5m 34s
Adjusting the roundness of a rectangle 5m 59s
Creating a dashed or dotted border 8m 42s
Drawing and aligning custom shapes 5m 14s
Creating your own custom shape 5m 23s
Designing a custom shape in Illustrator 6m 12s
Selecting, modifying, and combining shapes 7m 43s
Duplicating and centering shapes 6m 21s
Centering a star inside a circle 3m 30s
Beveling your shapes with Pillow Emboss 5m 56s
Combining shapes into a smart object 6m 33s
Applying lighting and photorealism 8m 2s
Converting text to a shape layer 5m 33s
Editing the shape of a character of type 5m 10s
23. Blend Modes
Blending layers like a pro 1m 25s
Normal and Dissolve 4m 54s
Using the Dissolve mode 5m 44s
Multiply and the other darken modes 6m 20s
Using the Multiply mode 6m 59s
Screen and the other lighten modes 4m 49s
Using the Screen mode 9m 31s
Using the Dodge and Burn modes 5m 38s
Overlay and the contrast modes 7m 17s
Using the Overlay and Soft Light modes 6m 32s
Difference, Exclusion, Subtract, and Divide 6m 15s
Capturing the differences between images 4m 57s
Hue, Saturation, Color, and Luminosity 7m 55s
Blend mode keyboard shortcuts 5m 48s
The Brush tool blend modes 5m 34s
The remarkable “Fill Opacity Eight” 7m 29s
Blend If: This Layer and Underlying Layer 7m 28s
Photoshop CC 2017 One-on-One
24. Layers Effects
Depth, contour, and texture 1m 32s
Applying a Drop Shadow 6m 23s
Working with Fill Opacity 4m 5s
Applying an Inner Shadow 6m 19s
Working with Global Light 5m 6s
Creating blurry, spray paint-style type 7m 57s
Creating your own custom Contour 5m 43s
Introducing Bevel & Emboss 7m 13s
Combining multiple layer effects 4m 18s
Copying effects between layers and groups 5m 2s
Assigning multiple strokes to a single layer 6m 42s
Combining multiple drop shadows 4m 59s
25. Levels and Curves
Mastering the histogram 1m 20s
Correcting an image automatically 6m 2s
Customizing a Levels adjustment 5m 54s
Previewing clipped pixels 6m 10s
Understanding the Gamma value 4m 27s
Making channel-by-channel adjustments 7m 4s
Cleaning up scanned line art 7m 5s
Cleaning up complex mechanicals 5m 53s
Quicker layer masks with Levels 7m 5s
Introducing the Curves adjustment 7m 22s
The Curves Targeted Adjustment tool 5m 27s
Assigning shortcuts to adjustment layers 5m 51s
26. Lens Correction and Perspective Warp
What to do when everything is crooked 1m 7s
Introducing Lens Correction 3m 52s
Distortion, aberrations, and vignette 5m 22s
Adjusting angle and perspective 5m 29s
Using the Perspective Warp command 6m 24s
Fine-tuning your perspective adjustment 7m 15s
Evening out color and lighting 4m 10s
27. Advanced Camera Raw
Photoshop’s most powerful plug-in returns 1m 12s
Automatic lens correction and Defringe 6m 9s
Auto-correcting a JPEG image 5m 13s
Auto-correcting an undocumented photo 6m 24s
Auto-Straighten, Transform, and Upright 6m 23s
Using the Tone Curve graphs 6m 2s
Painting with the Adjustment Brush 7m
Using the Graduated Filter tool 6m 2s
Using the Radial Filter tool 6m 57s
Dehaze and Post-Crop Vignetting 6m 13s
28. Black and White Photography
Shoot in color, convert to black & white 1m 53s
Three ways to convert to grayscale 6m 17s
Introducing the Channel Mixer 6m 32s
Mixing a custom black-and-white image 6m
Creating an infrared/snow effect 4m 36s
Introducing the Black & White adjustment 2m 31s
Customizing a Black & White adjustment 4m 57s
Tinting an image 3m 21s
Blending black-and-white with color 5m 2s
Convert to Grayscale in Camera Raw 5m 51s
Split Toning in Camera Raw 3m 45s
Photoshop CC 2017 One-on-One
29. Duotones and Colorization
Infusing black and white with color 1m 29s
Quick-and-dirty colorization 3m 11s
Creating a professional quality sepiat one 3m 27s
The best of the best: Gradient Map 4m 57s
Loading my free, tailor-made gradients 5m 8s
Designing your own custom quadtone 5m 22s
Creating psychedelic arbitrary maps 4m 38s
30. Sharpening Details
How sharpening works 1m 40s
Introducing Unsharp Mask 7m 16s
Blending your sharpening effect 4m 54s
Reining in sharpness with a filter mask 6m 47s
Introducing Smart Sharpen 5m 33s
Remove: Lens Blur and Reduce Noise 4m 32s
Preventing shadow/highlight clipping 3m 49s
Compensating for camera shake 4m
Further compensating with Emboss 3m 20s
Sharpening with the High Pass filter 4m 11s
Painting with the Sharpen tool 2m 8s
lB6MwSwNNIYYHz66UqInBRH/video%20g/35625
Direct download links 10 GB :
Direct download link reserved for subscribers only This VIP
Dear user to download files, please subscribe to the VIP member
- To activate your special membership site, just go to this link and register and activate your own membership . >>>register and activate<<<
- You can subscribe to this link and take advantage of the many benefits of membership.
- Direct downloads links
- No ads No waiting
- Download without any limitation ، all content in website
CGArchives Is The Best
Review
Review
Review this tutorial


