Learn Squared – Designing Better Characters with Wouter Gort
 Designing Better Characters
 Designing Better Characters
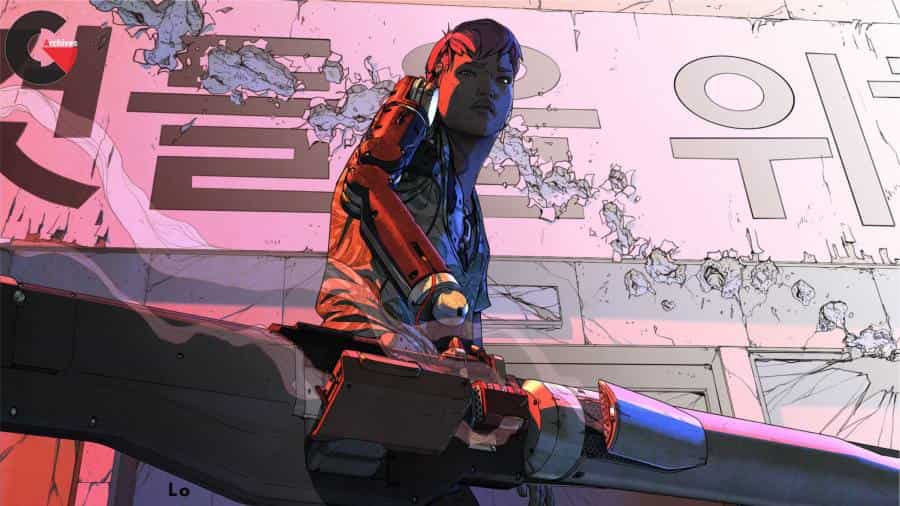
Designing Better Characters with Wouter Gort : Learn professional workflows to design characters for films, games, TV shows, and more from renowned concept designer and illustrator Wouter Gort. Covering everything from the fundamentals of character design, prop development, keyframe illustration, and more, this course covers everything you’ll need to know to level up your character workflow.
Lesson 1
Design Essentials
This first lesson will cover a lot of ground. Wouter will help you come up with your initial idea, then take you through some of the pieces of software he uses throughout the course. There will be separate sections showing his preferred techniques in Photoshop, Daz 3D, Blender and Fusion 360. Afterwards, you will learn the principles of design, including proportions, shape theory, detail placement, color and value. Finally, you will use everything you learned to create preliminary sketches of your character in Photoshop.
Lesson 2
Character Design
In this lesson, Wouter will design two different characters. For his main character, he will go through a more traditional process of building, posing and then drawing on top of his model. The line art, color and lighting will all be on distinct layers, so one aspect can be easily altered without changing the other elements. The second character will utilize what Wouter calls the ‘Character Creator,’ a modular technique which allows mixing and matching of finished costume parts for easy selection later by the artist or clients.
Lesson 3
Prop Design
In this lesson, Wouter will design three separate props, each demonstrating a completely different technique. The first will be created from start to finish in Photoshop, utilizing tight line work and strong understanding of proportion. The second prop will be created entirely in 3D, using Fusion 360. Then the third prop will be a 2D/3D hybrid. This will have its base shapes designed in Blender, before being exported to Photoshop to fill in various details. Each technique has its own strengths and weaknesses, so keep in mind what tools you need when fleshing out your own prop.
Lesson 4
Final Illustrations
Now that the designs have been finished, you can start creating an illustration which utilizes your character and prop together. In this lesson Wouter will create two separate images, each with its own distinct tone. These will utilize a blend of 2D and 3D by placing the character in a scene, lighting them, then creating linework and detail on top. The focus here will be on using composition, dynamic lighting and post-processing to create a compelling overall scene.
Direct download links 4.3 GB :

Direct download link reserved for subscribers only This VIP
Dear user to download files, please subscribe to the VIP member
- To activate your special membership site, just go to this link and register and activate your own membership . >>>register and activate<<<
- You can subscribe to this link and take advantage of the many benefits of membership.
- Direct downloads links
- No ads No waiting
- Download without any limitation ، all content in website
CGArchives Is The Best
Review
Review
Review this tutorial