Katon Callaway – Videogame Character Creation
 Katon Callaway – Videogame Character Creation
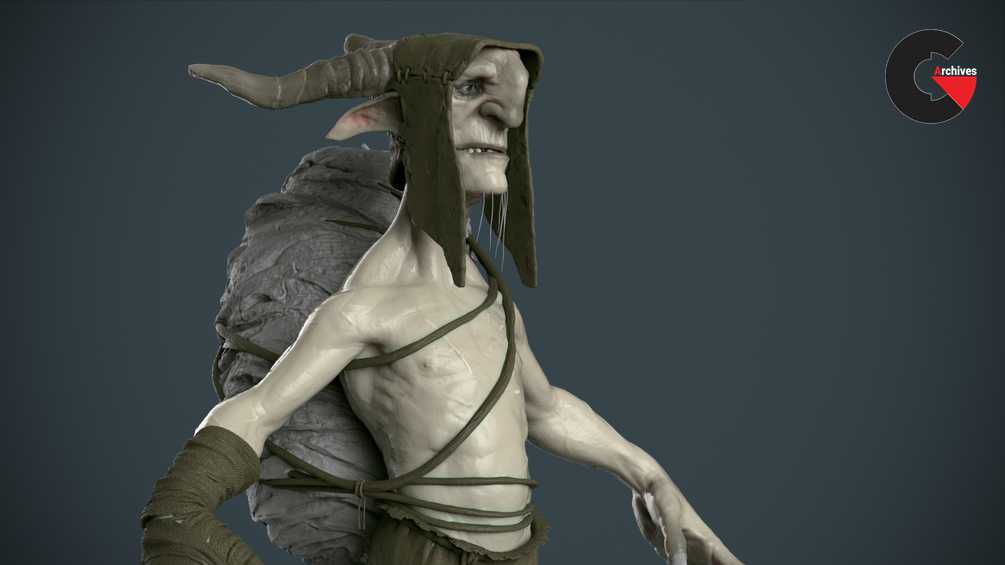
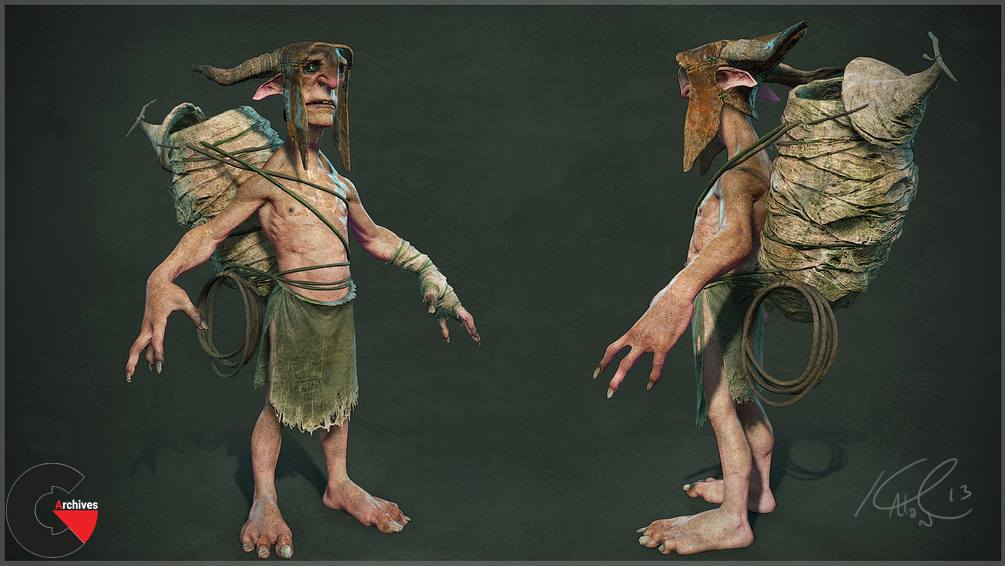
Katon Callaway – Videogame Character Creation : This is the most indepth class that I offer, and sold out for years when I taught it before. I take you from beginning to end in the character creation process. I provide a concept you can follow if you like, and take you from making a low poly mesh, to high poly sculpt, polypaint, uvs, baking, texturing and presentation. A step by step guide is below.
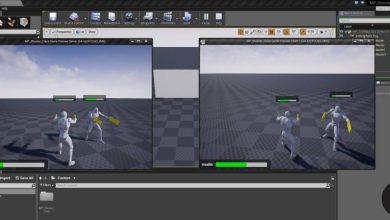
For those wanting to understand the game pipeline, this is for you.
Week 1- Create base mesh and begin initial sculpt.
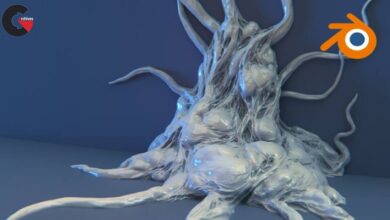
- In week one, we break down our design and make our base mesh for the body and start to block in the forms in Zbrush.
Week 2- blocking in the rest of the character-
- In our second week, we will work on blocking in the rest of the characters clothes. The first week is the setup for this week, a solid base sculpt is our foundation for the rest of the character.
Week 3- Catch up Week
- I like to use the third week to take a breather and catch up on anything that we might need some extra time on. Also it is nice to go back and tweak anything before getting into details.
Week 4- Finishing the sculpt
- Now we should have all the base assets in place and need to finish our character sculpt. This can be a tough thing to do, but I will take you through my process on how I go about closing the sculpt out.
Week 5- Creating our low poly mesh
- There are many tools that have greatly sped up our low poly creation process, but it is crucial to understand why we have the edge loops that we do, and also you have to know where they are needed. In this week, we go over topology and creating it for our character.
Week 6- Creating UVs and also our normal and AO maps.
- In week 6, we talk about solid uv layout, and I then show you my workflow using xnormal on how I go about creating my normal and ao maps.
Week 7 – Texturing and Marmoset

Watch the Introduction Video:
lB6MwSwNNIYYHz66UqInBRH/video/1842
Direct download links 23.1 GB :

Direct download link reserved for subscribers only This VIP
Dear user to download files, please subscribe to the VIP member
- To activate your special membership site, just go to this link and register and activate your own membership . >>>register and activate<<<
- You can subscribe to this link and take advantage of the many benefits of membership.
- Direct downloads links
- No ads No waiting
- Download without any limitation ، all content in website
CGArchives Is The Best
Review
Review
Review this tutorial