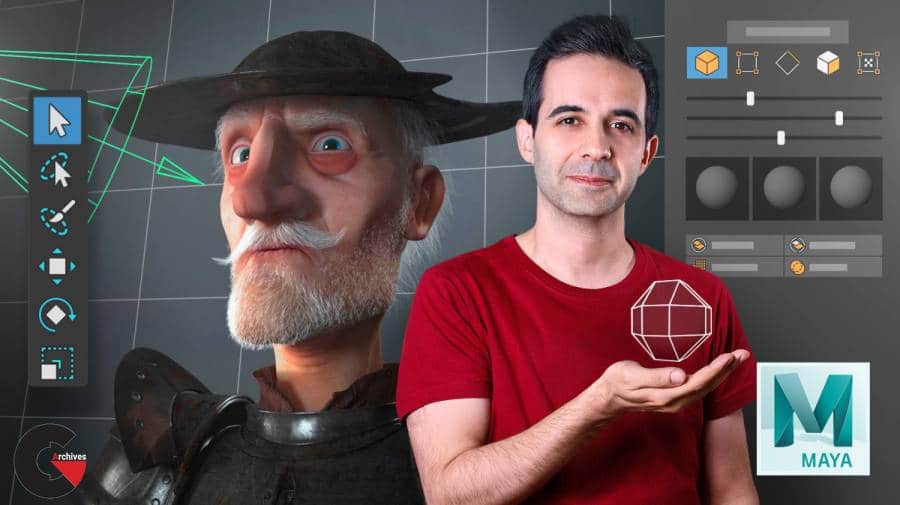
Introduction to Autodesk Maya with Miguel Miranda
 Introduction to Autodesk Maya
 Introduction to Autodesk Maya
Introduction to Autodesk Maya with Miguel Miranda : Learn 3D modeling from scratch and master the most used software in cinema, animation and advertising .
If you are passionate and want to get started in 3D modeling objects and characters, it is essential to master Autodesk Maya, the software 3D more widespread in the industry. In this 6-course Domestika Basics, you will learn from the hand of 3D modeler Miguel Miranda, to use all the tools that Maya offers from scratch, seeing techniques for modeling characters, creating materials and lights and rendering the scene.
First, you will become familiar with the work environment. You will start moving through the software learning where the menus and tools are organized. You will create your first camera and first 3D object, to start experimenting with it. You will learn to use the timeline.
In the second course, you will delve into all the tools necessary to model. You will be introduced to two essential menus, Mesh and Edit Mesh . Then, you will perform your first modeling, as well as an asset for a character.
Next, you will organize a scene and learn how to clean geometry in Maya. You will see and understand the ways of smoothing in 3D, and you will know the basic concepts about topology. Then, you will learn to use the brushes to sculpt your first character, in a simple way.
Then you will focus on working the parts and traits of the character, leaving it finished for its production. You will see the basics of topology for 3D animation, learning the basic tools, the importance of axes and directions.
You will start the fifth course by seeing which is the correct pipeline to finish a character in production. You will see what the UVs are, how to deploy them and place them correctly, so that you can finally do the UVs or the mapping of your character.
In the last course, you will create the lights of a scene and a set of render in Arnold to render your 3D objects and characters, and present them once modeled. You will discover the different textures and how to apply them. Finally, you’ll see how to do blendShapes to finalize your character’s face.
Direct download links 5 GB :

Direct download link reserved for subscribers only This VIP
Dear user to download files, please subscribe to the VIP member
- To activate your special membership site, just go to this link and register and activate your own membership . >>>register and activate<<<
- You can subscribe to this link and take advantage of the many benefits of membership.
- Direct downloads links
- No ads No waiting
- Download without any limitation ، all content in website
CGArchives Is The Best
Review
Review
Review this tutorial