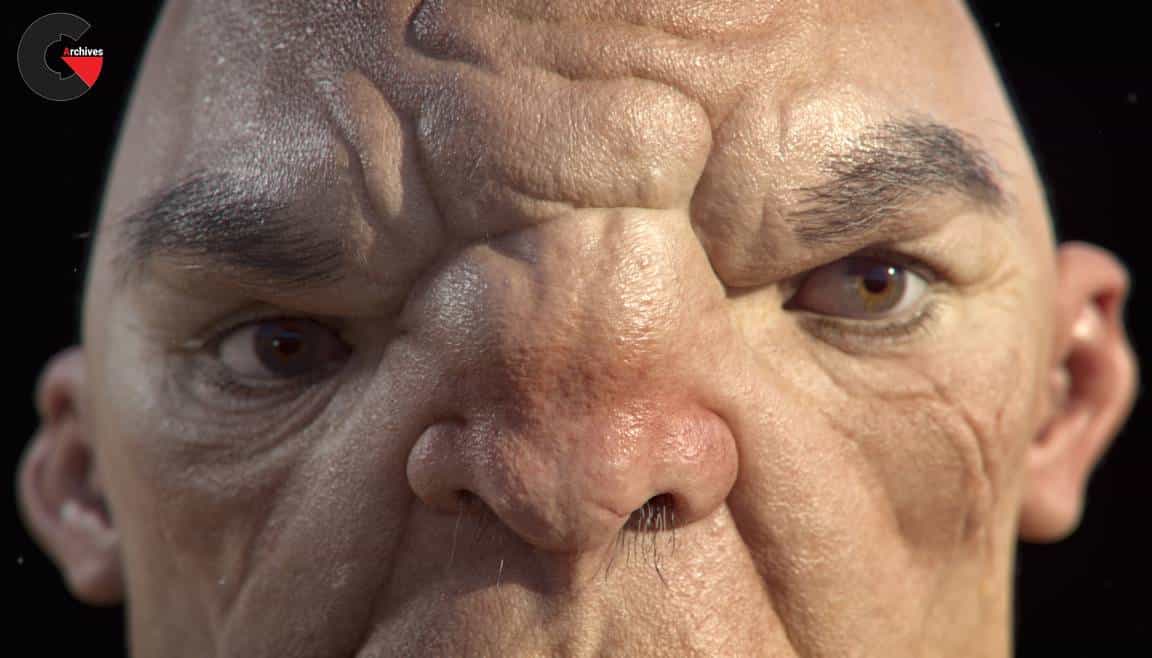
Texturing Realistic Skin for Characters
Texturing Realistic Skin for Characters : This is the first of 2 tutorials where I go through my process of creating realistic skin for characters. In this tutorial I will be taking advantage of the fantastic resource, texturing xyz.
I go through the entire process of using these textures, starting with combining the separate levels of detail into a usable rgb map. I do this in both Photoshop and nuke. I then launch into Mari where I give a quick into to the software and then we begin with projecting on the diffuse maps and then the displacement maps.
I also provide a couple of side tutorials which go through my process of creating tile-able textures in photoshop as well as my process of taking the finished displacement maps back into zbrush where we can continue adding details and irregularities.
This is a step by step tutorial separated out into 20 chapters. I don’t skip any parts of the process and I don’t use time lapses at any point.
The software used in this tutorial is: Mari,Zbrush,Photoshop
Even if you are using a different software such as mudbox for texturing, the methods I use in this tutorial should translate over to those packages.
Contents :
- Navigating the AutoCAD 2019 interface
- Starting the DWG Compare command
- Adjusting the comparison margins
- Saving a comparison drawing
- Creating a shared design view
- Using layers in the shared view
- Marking up the shared view
- Using the URL view links
Direct download links 3.1 GB :
Direct download link reserved for subscribers only This VIP
Dear user to download files, please subscribe to the VIP member
- To activate your special membership site, just go to this link and register and activate your own membership . >>>register and activate<<<
- You can subscribe to this link and take advantage of the many benefits of membership.
- Direct downloads links
- No ads No waiting
- Download without any limitation ، all content in website
CGArchives Is The Best
Review
Review
Review this tutorial