Gumroad – Barbarian Tutorial by Tom Newbury
 Barbarian Tutorial
 Barbarian Tutorial
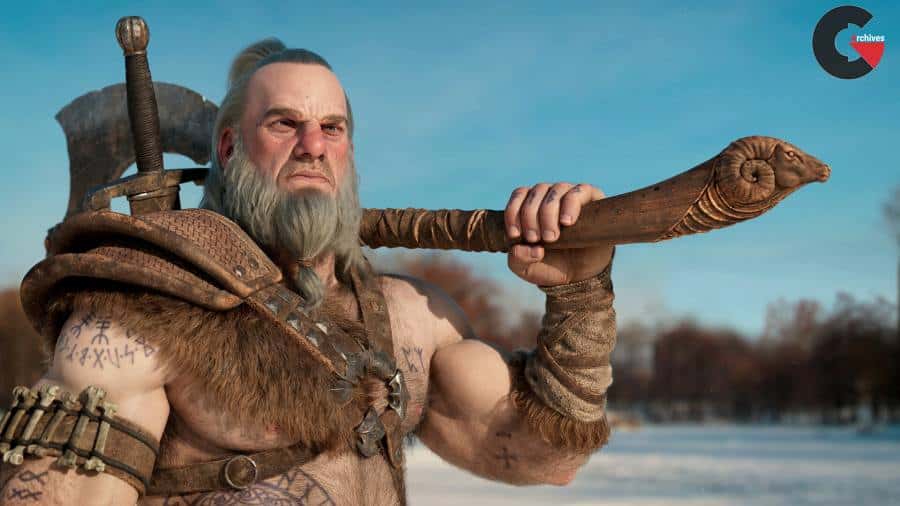
Barbarian Tutorial by Tom Newbury : This is my latest tutorial series where I go over the Texturing, Lookdev and Groom for this Barbarian Character.
The process is covered in-depth, with every step explained with narration, in real-time.
A lot of time and effort has gone into this series, and I hope you can learn something new from it.
Barbarian – Xgen for Characters
This tutorial is an update of my older Xgen tutorial, with more advanced techniques and a much broader variety of different grooms. I will show you multiple techniques to help you achieve a believable groom for your characters.
In this tutorial, I will be going over my entire process when it comes to generating a believable groom for your character. The process is covered in-depth, with every step explained with narration, in real-time.
There is a lot of content in this tutorial, but I have labeled the chapters in a way to make it easy for you to skip ahead or jump to the area which interests you most, without having to watch the entire process. I did this to make sure a beginner has all the information they need, or a more experienced artist can jump to the information they are seeking.
By the end of the tutorial, you should have the knowledge and techniques to apply realistic grooms to your own characters.
NOTE: To make sure this tutorial did not exceed a ridiculous amount of content, I do some tweaking of the grooms off camera. I always make sure to come back in the following chapter showing you the tweaks that were made to get the desired results. The foundation and every tool I use to generate the groom are recorded.
Programs Used:
- Xgen
- Maya
- Arnold
- Zbrush
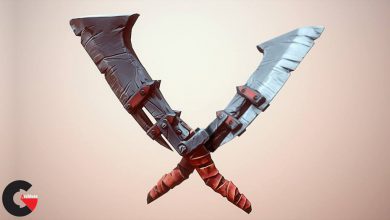
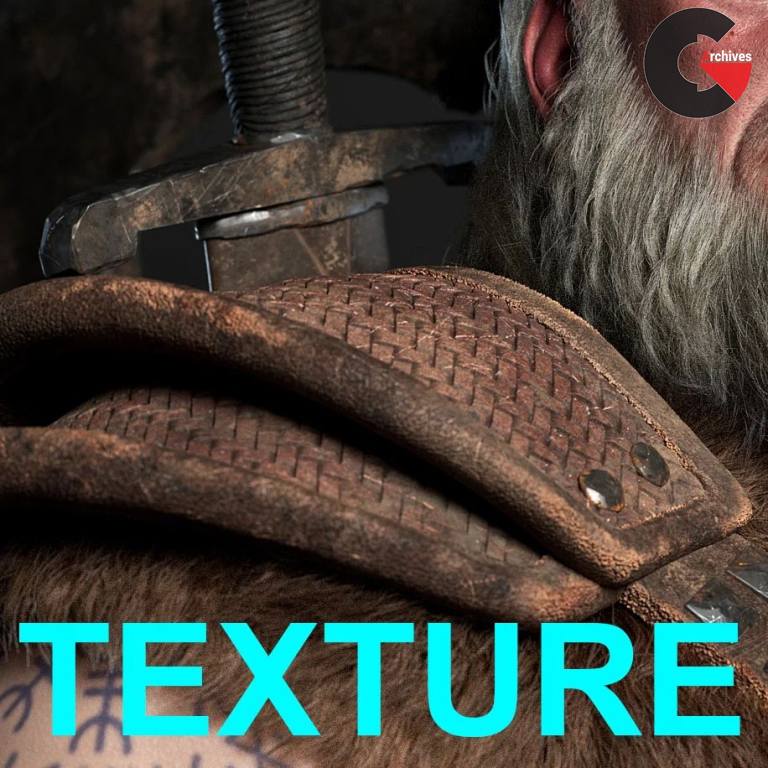
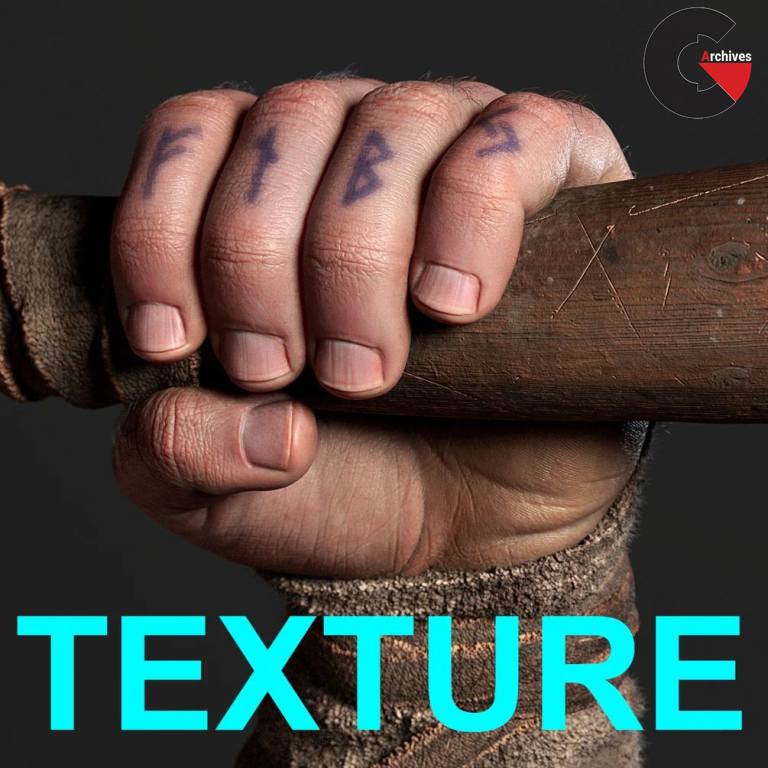
Texturing Props and Accessories for Characters
In this tutorial, I will be going over my entire process when it comes to texturing Props and Accessories for your character. The process is covered in-depth, with every step explained with narration, in real-time.
There is a lot of content in this tutorial, but I have labeled the chapters in a way to make it easy for you to skip ahead or jump to the area which interests you most, without having to watch the entire process. I did this to make sure a beginner has all the information they need, or a more experienced artist can jump to the information they are seeking.
By the end of the tutorial, you should have the knowledge and techniques to apply realistic textures to your characters Props and Accessories.
Programs Used:
- Mari
- Mighty Bake (or any other AO and Curvature baking software)
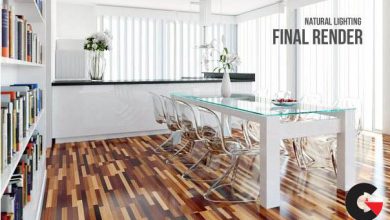
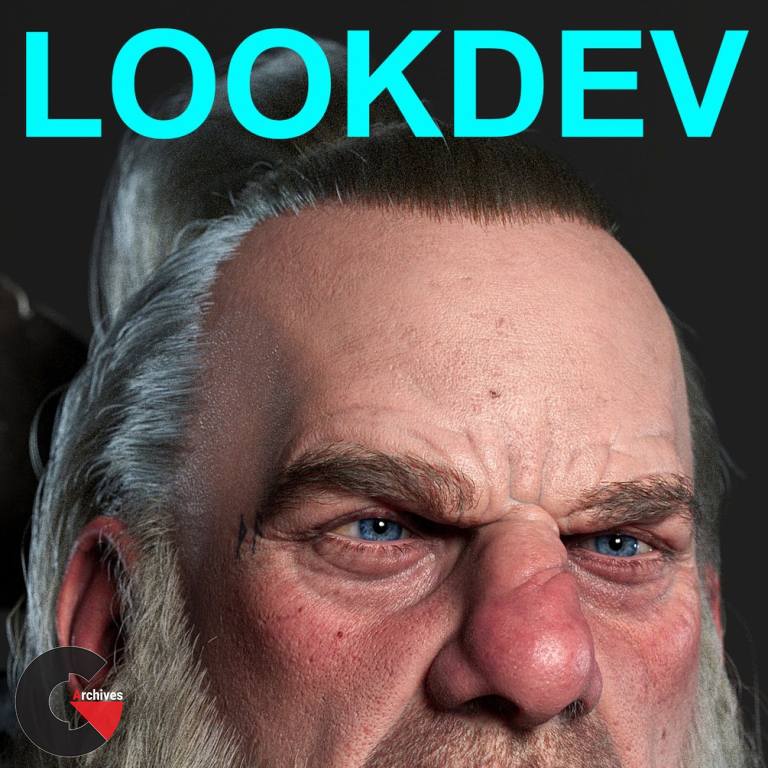
Barbarian – Lookdev for Realistic Characters
This tutorial is an update of my older lookdev tutorial, with new processes and techniques while using up to date software. I show you how to lookdev the skin, as well as the props and accessories.
In this tutorial, I will be going over my entire process when it comes to doing Lookdev for a realistic character. The process is covered in-depth, with every step explained with narration, in real-time.
There is a lot of content in this tutorial, but I have labeled the chapters in a way to make it easy for you to skip ahead or jump to the area which interests you most, without having to watch the entire process. I did this to make sure a beginner has all the information they need, or a more experienced artist can jump to the information they are seeking
By the end of the tutorial, you should have the knowledge and techniques to apply realistic shaders to your own characters.
Programs Used:
- Maya
- Arnold
- Mari
Barbarian – Texturing Realistic Skin for Characters
This tutorial is an update of my older skin texturing tutorial, with new processes and techniques while using up to date software. I not only show you how to texture the face but also the upper body.
In this tutorial, I will be going over my entire process when it comes to texturing skin for a realistic character. The process is covered in-depth, with every step explained with narration, in real-time. I go over the creation of all the maps I currently use to generate realistic skin.
There is a lot of content in this tutorial, but I have labeled the chapters in a way to make it easy for you to skip ahead or jump to the area which interests you most, without having to watch the entire process. I did this to make sure a beginner has all the information they need, or a more experienced artist can jump to the information they are seeking.
By the end of the tutorial, you should have the knowledge and techniques to apply realistic skin textures to your own characters.
NOTE: I am using resources from Texturing.xyz for both the diffuse and displacement of the skin.
Programs Used:
- Mari
- ZBrush
- XNormal
Pictures of this course :

Direct download links 23.5 GB :

Direct download link reserved for subscribers only This VIP
Dear user to download files, please subscribe to the VIP member
- To activate your special membership site, just go to this link and register and activate your own membership . >>>register and activate<<<
- You can subscribe to this link and take advantage of the many benefits of membership.
- Direct downloads links
- No ads No waiting
- Download without any limitation ، all content in website
CGArchives Is The Best
Review
Review
Review this tutorial