Digital Matte Painting: 3 Tone
 Digital matte painting
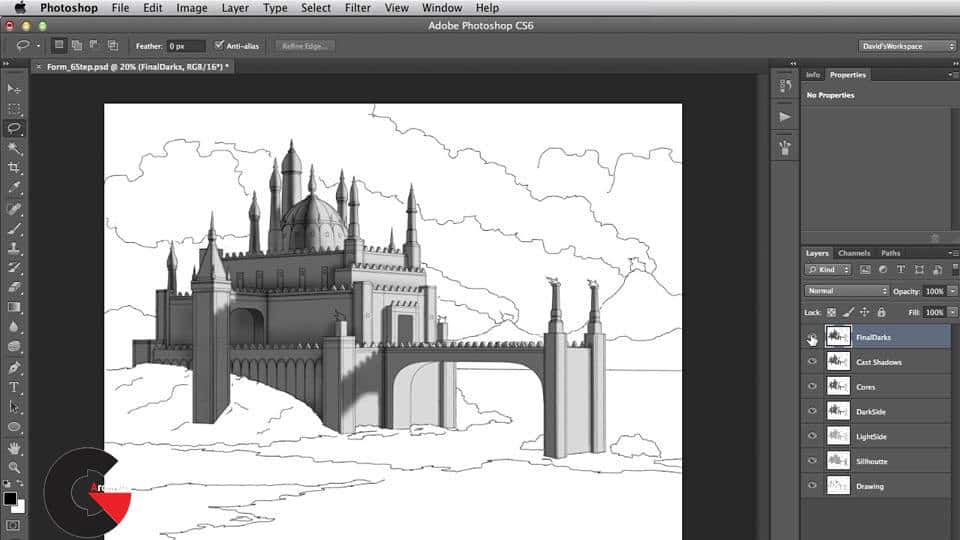
Digital Matte Painting: 3 Tone : After you’ve perfected your perspective drawing, the next step in the matte painting process is to layer in tone: the master tool in the matte artist’s arsenal for establishing a fully formed structure. David Mattingly, a matte artist for many groundbreaking motion pictures, takes a black-and-white drawing and shows how to use the five elements of light—dark sides, light sides, cores, cast shadows, and final darks— to paint the surfaces and create a realistically shaded environment in Adobe Photoshop.
This course is part 3 in David’s Digital Matte Painting Essentials series. Go back to Digital Matte Painting Essentials 2: Perspective, part 2, to recreate the castle drawing he uses in this course, or if you simply want to learn more about form, you can use the example provided in the exercise files.
Topics include:
- Selecting the silhouette
- Find the dark sides and light sides in the drawing
- Using mask-holding layers
- Examining the light and dark sides of rounded surfaces
- Looking at the cores
- Adding cast shadows
- Separating surfaces with final darks
- Adding ambient occlusion
lB6MwSwNNIYYHz66UqInBRH/video/4225
Direct download links 600 MB :
Direct download link reserved for subscribers only This VIP
Dear user to download files, please subscribe to the VIP member
- To activate your special membership site, just go to this link and register and activate your own membership . >>>register and activate<<<
- You can subscribe to this link and take advantage of the many benefits of membership.
- Direct downloads links
- No ads No waiting
- Download without any limitation ، all content in website
CGArchives Is The Best
Review
Review
Review this tutorial
 Digital matte painting


