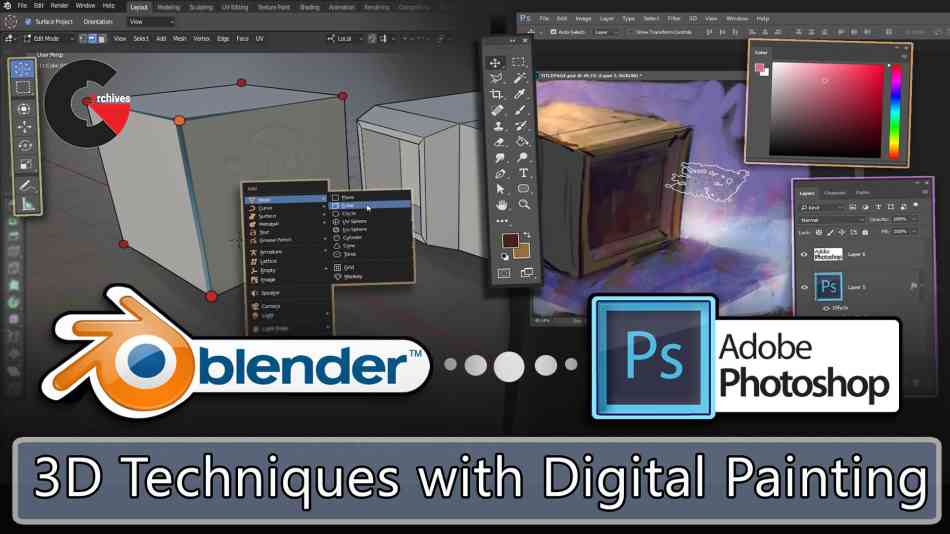
3D Techniques with Digital Painting
 3D Techniques
 3D Techniques
3D Techniques with Digital Painting : In today’s competitive world of concept art and illustration, the boundaries between 3D and 2D are becoming ever more blurred. It is often expected of 2D artists to have some degree of familiarity with 3D tools and processes. At the very least, understanding some basic 3D workflow and tools can really help you reach a higher creative potential.
This video class will teach you fundamental skills needed to integrate Blender – an industry standard, and free, 3D software – into your 2D workflow. The lectures are broken up into three chapters:
Chapter 1: Blender Essentials. Marco will introduce and explain all the 3D tools necessary to follow the tutorials. A great way to introduce yourself to the software!
Chapter 2 : A project that combines elements made with basic 3D modeling, grease pencil, texturing, lighting and rendering, with digitally hand-painted 2D scenery and characters. The result is a 2D digital painting aesthetic, but with real 3D depth.
Chapter 3 : A project using a modern day Hollywood ‘2.5D’ matte painting technique. Slightly more advanced 3D modeling (still suitable for beginners), combined with sophisticated camera projection mapping UV tools and digital painting to create a unique and dazzling cinematic blend of 2D and 3D.
Course features :
- Great for beginner users of Blender, or beginners to 3D in general!
- Course uses Blender 2.8 – the latest release of the software
- Using Blender’s grease pencil as a bridge from 3D over to the realm of 2D illustration and digital painting
- Preparing elements in 3D with basic UV texture mapping and rendering
- Node and shader construction in Blender
- Bringing your painting together in Photoshop with regular digital painting techniques. Full painting process shown, on two separate paintings, with discussions of fundamentals (light, color, value, composition, etc.) used throughout the process, as well as many other related thoughts along the way
- Using digital brushwork to eliminate the sterile ‘3D look’
- Using 3D ambient occlusion and shadow passes to aid painting
- Using layers to help keep your process organized
- Compositing elements back together for a final, striking image – all within Blender
Project Description
Project 1 : Set aside 1 hour of uninterrupted time and navigate Blender. Do not try to create any artwork yet; simply move objects around, delete/add them, open/close windows, navigate the various orthographic views, and get a sense for a few of the shortcut keys and tool menus. These basic skills save so much frustration later, when you will be focusing on creating artwork. Because Blender has so many different tool sets and ‘categories’ of tools, you may find it useful to track along with Chapter 1, giving each tool individual attention as they are introduced in the lesson.
Project 2 : Come up with an illustration that can be broken down into very clear planes – at a minimum, Foreground/Midground/Background. Sketch them in 3D space using Blender’s Grease Pencil tool, and generate a rough camera move through your mock-up illustration. Export those layers into Photoshop and replace the Grease Pencil block-in with a finished digital painting. Export those layers as color and transparency maps, and re-build your 3D scene with your digital painting UV mapped onto planes, in the same place as your Grease Pencil layers were. As a bonus, see if you can integrate some simple 3D objects in this scene, to help ‘marry’ the two mediums (as shown with the leaves in Chapter 2).
Project 2b : Try creating an illustration entirely with the Grease Pencil. Play with the tool’s settings to get lines you like, and simply complete the entire drawing inside of Blender!
Project 3: Come up with a cinematic shot that might work well with a ‘2.5D’ technique. Often this approach suits large establishing shots of vast landscapes or cityscapes. Model some basic geometry that captures the essence of the shot, but without getting into too much detail. Remember it is your 2D painting that will provide all the detail. I recommend going for lots of 3D depth here, having elements play toward and away from camera. Set up a master ‘projection camera’ that encompasses all the elements in your scene (remember to lock it!), and export your various layers. If you like, set up some basic lighting to provide various shadow passes. Re-assemble those elements in Photoshop, and paint them! Now re-export from Photoshop and project UVs from the master camera. Use a new camera to dial in a specific camera move that does not deviate too far from the projection cam’s view (as this will spoil the illusion.) Feel free to play around with Depth of Field settings for that final cinematic polish.
Watch the Introduction Video:
lB6MwSwNNIYYHz66UqInBRH/video/3176
Direct download links 2.7 GB :

Direct download link reserved for subscribers only This VIP
Dear user to download files, please subscribe to the VIP member
- To activate your special membership site, just go to this link and register and activate your own membership . >>>register and activate<<<
- You can subscribe to this link and take advantage of the many benefits of membership.
- Direct downloads links
- No ads No waiting
- Download without any limitation ، all content in website
CGArchives Is The Best
Review
Review
Review this tutorial