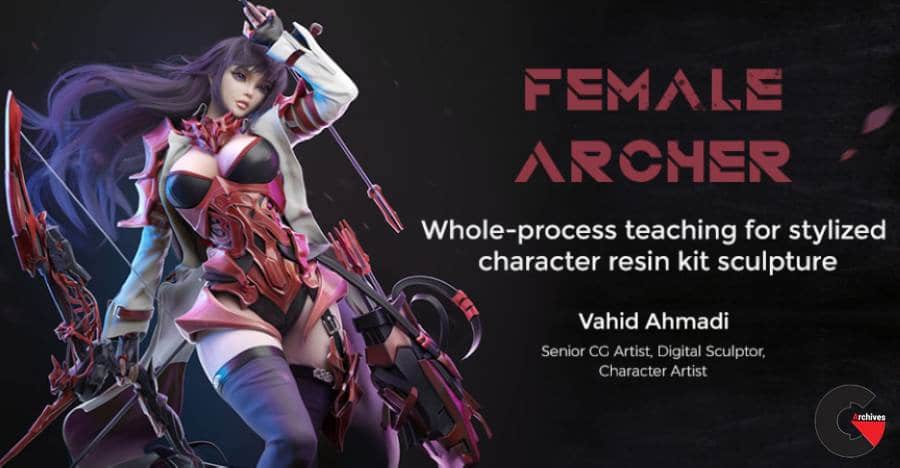

Stylized Female “Archer” Creating : Vahid Ahmadi is a world-famous digital sculpture artist, whose works have been featured on ZBrush’s website and CG magazines for many times.When we see Vahid’s works, we know what a real work of art is. Behind each work there seems to be an intriguing story. This gives them a sense of life, rather than a dead model.The concept diagram for this tutorial has been authorized by the author.
This is a full process case course created with advanced 3D female characters, giving you a detailed understanding of the production process of 3D female character Garage Kit.With the course case “Female Archer”, detailed explanation of knowledge points was carried out. It includes conceptual diagram analysis, low poly model creation, detail perfection, high poly model refinement, material texture, coloring to gray modeling and rendering, and synthesis of the final effect drawing.Thus it covers whole process explanation of the work from scratch to the final completion.
Kindly Reminder:
Some basics of ZBrush and 3Ds Max are required. With the aid of basic knowledge will only make your learning path smoother.
The course duration : More than 68 hours.
What is the digital sculpture creation process?
Sculpture process of characters and environment in film and TV, usually includes the concept diagram analysis, low-mode creation, detail perfection, high-mode refinement, material texture, rendering and synthesis. Digital sculpture work has been widely appeared in the film, games, sculpture, collection design, TV toys and trade show, spreading all over the world.
This tutorial is taught by Vahid Ahmadi, a senior character digital sculptor whose works have been featured on the ZBrush home page and have won several art awards, including “Aries”, which was made in 2018 and exhibited in ASIAGRAPH 2018 as an outstanding work.
The tutorial lasts about 68 hours and you won’t miss any technical process. The tutorial covers software tool setup, concept diagram analysis, low poly model creation, detail perfection, high poly model refinement, character asset creation and refinement, material texture addition, coloring, rendering and synthesis, allowing you to learn the high quality character creation workflow.
Part 1 : Role models and asset creation
Core knowledge point
This section will explain the skill of using ZBrush basic tools, analyze the original painting according to character concept, and interpretate the core design points of character sculpting and how to refer to and use ZBrush to sculpting characters’ face, clothes, hair, weapons and other details, and also the knowledge about character poses.
Part 2 : Add texture and hair to make
Core knowledge point
This section mainly explains the workflow of using the 3Ds Max to add materials, making skin texture, pore, lifelike eyeballs and so on for the model, as well as demonstrates the process of using Ornatrix to make realistic fur, hair, eyebrows, eyelashes, etc.
Part 3 : Detail adjustment and rendering
Core knowledge point
We will refine the whole model, improving the head, hand, hair, braid, hair cluster, texture, lighting and other parts, to complete the final rendering and synthesis.
Direct download links 44 GB :
Direct download link reserved for subscribers only This VIP
Dear user to download files, please subscribe to the VIP member
- To activate your special membership site, just go to this link and register and activate your own membership . >>>register and activate<<<
- You can subscribe to this link and take advantage of the many benefits of membership.
- Direct downloads links
- No ads No waiting
- Download without any limitation ، all content in website
CGArchives Is The Best
Review
Review
Review this tutorial