Real-world Techniques for Multipass Compositing
 Real-World Techniques
 Real-World Techniques
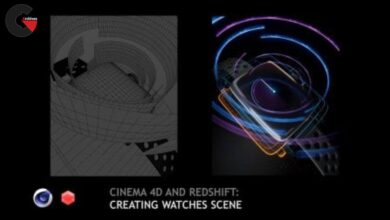
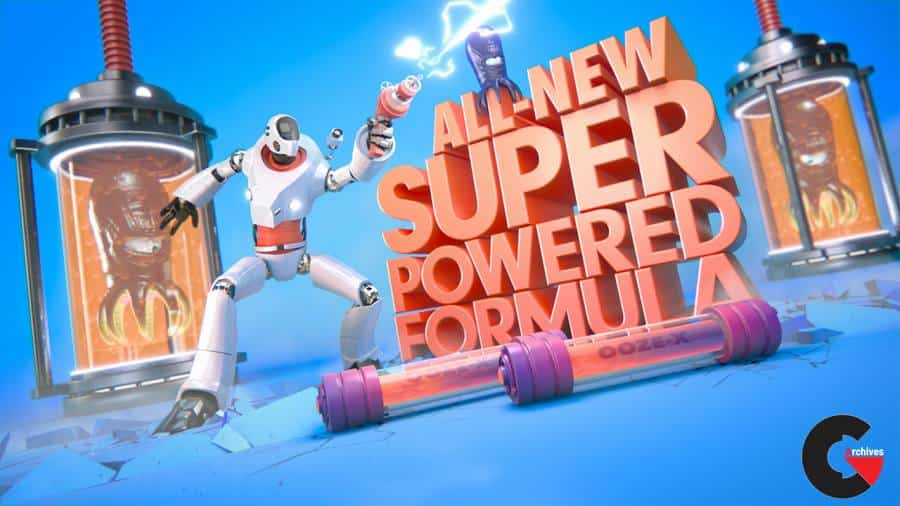
Real-World Techniques for Multipass Compositing in After Effects : We’ll get an exclusive look at the creative process and reasoning behind compositing using render elements from V-Ray in Maya and the physical renderer in CINEMA 4D. We’ll learn how to get the most out of them in an After Effects linear space compositing pipeline using proven advanced techniques from professional, real world scenarios. By the end of this After Effects training, you’ll have a range of new tips and tricks to be able to use in your own projects.
Software required : After Effects CC 2014, Maya 2015, Vray 3.0 and Cinema 4D R16
- Let’s get linearized
- Recommended file formats for compositing
- Project organization, goals and breakdown
- Basic additive technique for compositing render elements
- Advanced additive technique for compositing render elements
- Using light selects to composite render elements
- Subtractive techniques for compositing render elements
- Setting up lighting controls for our composite
- Balancing our robot composite
- Improving details on our robot composite
- Finalizing the first pass for our robot composite
- Getting started with our Cinema 4D composite
- Controlling our diffuse / lighting pass
- Adding color to our specular and shadow pass
- Refining our GI pass for our environment
- Tweaking the ambient and reflection passes
- Adding an underwater look using our refraction pass.
- What are UV passes and how can we use them?
- Using Uvs to create custom displacement maps
- Adding bubbles and liquid using UV maps
- Exploring techniques for compositing AO and Shadow passes.
- Using RGB channels to color match elements
- Making sure we have a balanced composite
- Animating our lighting controls
- Creating a balanced comp for the back of the robot
- Finishing up the lighting on our robot comp
- Let’s talk about light wraps
- Overall color grades and vignettes
- Adding atmospheric particles to our scene.
- Creating and compositing an RGB volume light
- Addressing client notes in comp to save time
- Faking liquid using UVs and fractal noise.
- Advanced tips for using UVs
- Let’s talk about relighting!
- Adding contrast and contact lighting
- Fake reflections and cheap rim lights
- A new way to look at glows in After Effects
- Compositing contact lighting for our laser gun flashes
- A look at Position passes inside After Effects
- Using Position passes to create UVs
- Extracting position data from our world position pass
- Adding destruction elements
- Depth of field in After Effects using C4D renders
- Applying depth of field to our robot using Maya / Vray renders.
- Adding motion blur to our comps
- Finishing our composite and project
lB6MwSwNNIYYHz66UqInBRH/video/7987
Direct download links 4.5 GB :

Direct download link reserved for subscribers only This VIP
Dear user to download files, please subscribe to the VIP member
- To activate your special membership site, just go to this link and register and activate your own membership . >>>register and activate<<<
- You can subscribe to this link and take advantage of the many benefits of membership.
- Direct downloads links
- No ads No waiting
- Download without any limitation ، all content in website
CGArchives Is The Best
Review
Review
Review this tutorial