How to Master Frequency Separation Retouching
 Master Frequency Separation Retouching
 Master Frequency Separation Retouching
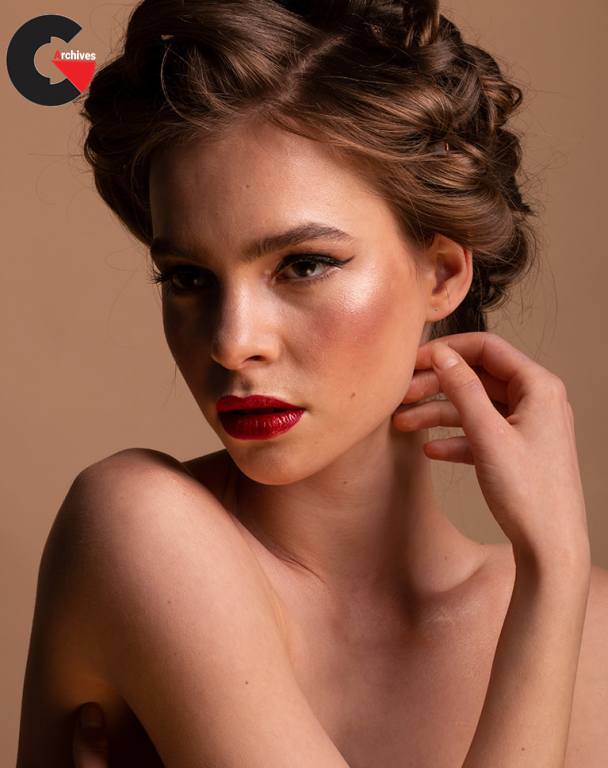
How to Master Frequency Separation Retouching in Photoshop : Learn from YouTube’s #1 Photoshop instructor Aaron Nace to enhance any image with Frequency Separation in Photoshop. Download RAW Images by beauty photographer Iulia David. Learn professional skin retouching and download the included Photoshop Action to make frequency separation easier than ever.
Beautiful Color, Perfect Detail
What is Frequency Separation?
Retouching has come a long way in the digital age. Frequency separation is a modern process that gives you complete control over the delicate textures and color in your images. Using the power of Photoshop, we can separate the fine details from the color information and then edit them independently.
Step-by-step Guide
Not only do we take you through the process of frequency separation step-by-step, you can follow along as we go through several examples of complete portrait retouching using 16-bit RAW images.
Frequency Separation Action
Your time is valuable. The faster you can finish an edit, the faster you can get on to your next project or photoshoot. Our included Photoshop action will automatically separate the high and low frequencies in any image, saving you time and getting you right into retouching.
High Frequency vs. Low Frequency
High frequencies are the smaller details in your images. Think skin texture, hair, or the stitching in fabric. Low frequencies include all of the color information in a photo like the transitions from highlight to shadow. Frequency separation is the process of dividing these two elements into separate layers which can each be adjusted without affecting the other.
Remove Blemishes
We all have them; small wrinkles, pimples, stray hairs–the tiny blemishes that easily show up on today’s high resolution cameras. Learn the proper methods for removing and reducing little distractions while keeping all the important details that make a person unique.
Smooth Skin in Photoshop
Dark shadows, uneven highlights, and skin redness will never be a problem again. Learn how to analyze and edit low frequency layers to smooth out color and areas of light and dark, creating perfect skin tone to highlight your subject’s natural beauty.
Tools & Techniques
Using a combination of layers, brushes, blurs, and our powerful Photoshop Action, by the end of this tutorial, you’ll be fully equipped with every tool and technique you’ll need to master frequency separation. We start with the basics and then show you in-depth application using high-end, professional images from photographer Iulia David.
Professional Skin Retouching
We don’t just show you the power of Frequency Separation. We take you through a complete professional retouching workflow, including steps like dodging and burning, color correction, and sharpening.
Manual Frequency Separation
Learn how to separate the high and low frequencies of any image from scratch to soften skin, remove wrinkles, and professionally retouch beauty portraits. Once you’ve mastered all of the steps for Frequency Separation, load up our custom action to save valuable time with impressive results.
lB6MwSwNNIYYHz66UqInBRH/video%202/22634
Direct download links 8.8 GB :

Direct download link reserved for subscribers only This VIP
Dear user to download files, please subscribe to the VIP member
- To activate your special membership site, just go to this link and register and activate your own membership . >>>register and activate<<<
- You can subscribe to this link and take advantage of the many benefits of membership.
- Direct downloads links
- No ads No waiting
- Download without any limitation ، all content in website
CGArchives Is The Best
Review
Review
Review this tutorial