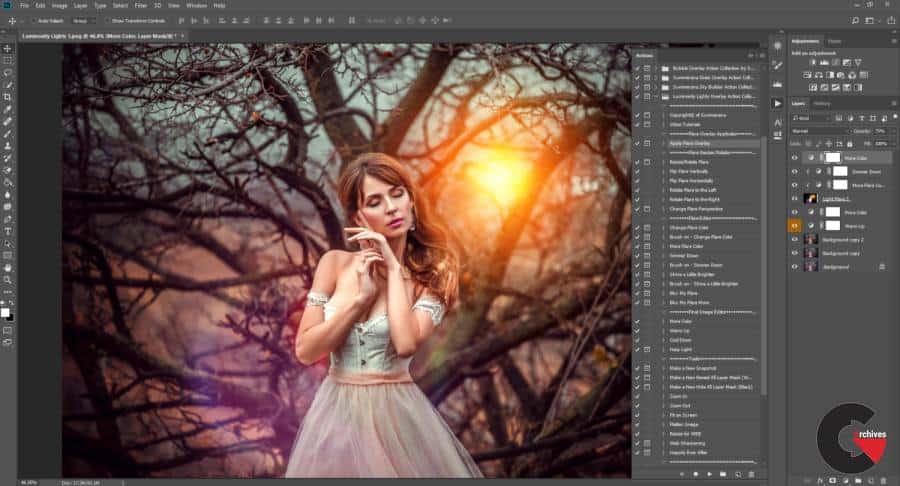

How to Install and Use Overlays in Photoshop : When you download a new set of Photoshop overlays to use in your images, you will no doubt be excited to get started. But if you’ve never used overlays before, it may seem like more of a challenge than you expected.
Where do you start? How do you use them? Here we’ll give an in-depth look into getting started with Photoshop overlays, and beyond.
Installing your overlays
Let’s start by figuring out how to get your overlays into Photoshop in the first place. Actually, there’s no need to install anything at all, unless you are utilizing actions to do the hard work for you (then you will need to install those actions). Overlays work by fitting over the image you are using to create a particular effect, and they are image files themselves. This means you can treat them like any other image file.
Just start by saving your overlays in a folder you can find easily, where you know you will remember putting them.
You bring your overlays into Photoshop every time you want to use them. This may sound complicated, but Summerana’s Photoshop overlays come with a Photoshop action set which helps to take all of the stress away.
First you have to install your Photoshop actions into the actions toolbar – don’t fret if you don’t know how, as we have already written a tutorial on this to help you out too! Once they are ready, you can follow the instructions in the actions to get everything imported.
Of course, if you want to do things yourself, there’s a way to bring in overlays without using an action to do it.
Bringing overlays into Photoshop
First, open the image that you want to use your overlay with. Now go to the file menu and choose open. Select your overlay here and open it up.
This will bring the overlay into a new tab. Now, click on the image and drag it. You will see that the top layer starts to move, and you can even pull it off the screen. Drag it across until your pointer hovers over your base image’s name in the Photoshop toolbar.
After a moment, Photoshop should switch to showing your base image. Your pointer will appear as a box with dotted edges, and a smaller pointer. Release your hold, and the overlay will drop into place.
Alternatively, you can also use the ‘place’ option in the file menu. In this technique, simply select the overlay from your list of files. When it appears on your image, you can press enter on your keyboard to drop it into place. You can also move it around first, and make it smaller or larger depending on your needs.
Adjusting your overlays
Now that you have your overlay sitting as a new layer on your base image, you probably can’t see your base image at all! It will be covered by your overlay because both are set to 100% opacity.
To change this, you can reduce the opacity of your layer in the layers panel and/or change the blending mode of that overlay. As you bring the percentage down or change the blending mode, you will see your base image showing through.
Create a new layer mask by clicking on the button that looks like a box with a circular hole in the middle. This will allow you to make adjustments to the overlay layer without permanently deleting any part of it, so it is definitely the recommended option!
A white box will appear next to the image in the layers panel. Click on this white box and make sure that your brush tool is set to black. Change the opacity and hardness of your brush as much as you like, and then paint directly onto your image where you don’t want the overlay to show through.
You can use this method to keep your overlay where you want it. For example, you can clear textures off faces and skin, or ensure a sky overlay is only visible where the sky should be.
Direct download links 0.5 GB :
Direct download link reserved for subscribers only This VIP
Dear user to download files, please subscribe to the VIP member
- To activate your special membership site, just go to this link and register and activate your own membership . >>>register and activate<<<
- You can subscribe to this link and take advantage of the many benefits of membership.
- Direct downloads links
- No ads No waiting
- Download without any limitation ، all content in website
CGArchives Is The Best
Review
Review
Review this tutorial