Comprehensive Introduction to Arnold 5 for Maya
 Comprehensive Introduction to Arnold 5
 Comprehensive Introduction to Arnold 5
Comprehensive Introduction to Arnold 5 for Maya : The next section of the course is dedicated to lighting, we learn about different lights in Arnold and different lighting techniques, we learn about area lights, spot, directional and point lights, mesh and photometric lights.
We learn what are light filters and how to use them, what is SkyDome Light, physical sky and image-based lighting, you learn how to approach interior lighting in Arnold for Maya.
We learn about amazing volumetric effects in Arnold, including Atmosphere Volume and Fog.
The lighting section of this course is 1 hour and 28 minutes in 12 lessons.
In the next section of the Comprehensive introduction to Arnold 5 For Maya, we start talking about Arnold shaders and nodes.
First we learn about the new Standard Surface shader which was introduced in Arnold 5 and it is the main shader in Arnold and capable of creating all sorts of materials, we dedicated 8 videos and almost two hours to discuss Standard Surface shader thoroughly.
Not only you learn the fundamentals of this shader but also how to create some realistic shaders and materials with it.
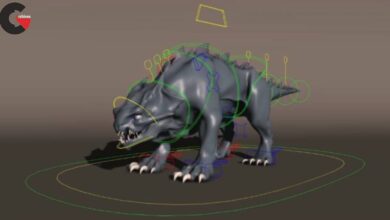
Then we discover bump and displacement mapping in Arnold. We explore the new Standard Hair shader in a lot of details, this material lets you realistically create hair shaders, the Standard Hair is fantastic and definitely one of the best hair shaders out there, it is extremely easy to use and produces the most realistic results.
Then we take a look at the Car Paint shader which lets you create highly realistic highly customizable Car paint shaders.
After that, we learn about Layer,mix and switch shaders, , flat, two-sided, color jitter, triplanar, RaySwitch, ambient occlusion, curvature, shadow matte, utility shaders and much more … .
Hopefully after watching this section, you should be very comfortable developing complex shaders using these long list of shaders and nodes.
The shading section of this course is 3 hours and 43 minutes in 20 lessons.
Then we see what Arnold has to offer when the time comes to cameras, we learn about different camera features and different camera types, we explore how to achieve effects like depth of field and motion blur.
In about 28 minutes and in 4 lessons you learn how to effectively control your camera when working with Arnold.
In the section 6 of the course we learn how to render our scenes in Arnold for Maya, first we discover Arnold RenderView which gives a real-time feedback of the changes you make in the scene. Than we take a look at Arnold Driver and how to export still frames and animations with Arnold.
Than we dive deep into the subject of AOVs. What are the AOVs that Arnold offers and how to export and composite them in a composting app like After Effects. Then we talk about custom AOVs and how to write them out.
Next we take a look at per-light AOVs and light groups and how to relight our scene easily and effectively after the render.
After that we discover different render settings in Arnold and take a look at texture settings and tx manager in Arnold.
The rendering section of the course is about 1 hour and 18 minutes in 5 lessons.
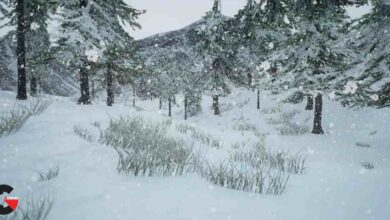
In the final section of the course we take a closer look at Arnold Common settings, StandIns and finally we learn about Arnold volume, we learn how capable Arnold is in handling openVDB files and rendering them realistically, we show you all the steps you need to render openVDB files in Arnold and how to render amazing realistic fire, smoke and explosions in Maya thanks to the new Standard Volume shader in Arnold 5 .
The final section of the course is 40 minutes in 3 lessons.
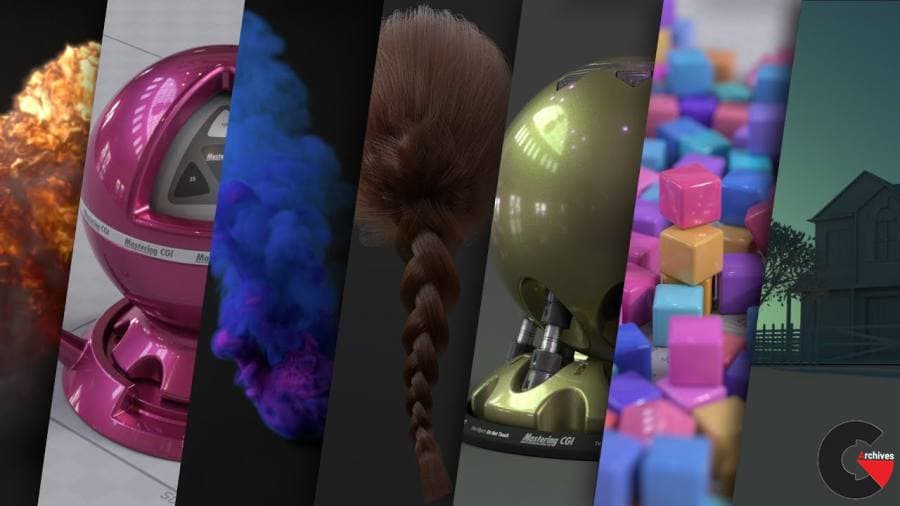
Pictures of this course :
lB6MwSwNNIYYHz66UqInBRH/video%202/23264
Direct download links 3.9 GB :

Direct download link reserved for subscribers only This VIP
Dear user to download files, please subscribe to the VIP member
- To activate your special membership site, just go to this link and register and activate your own membership . >>>register and activate<<<
- You can subscribe to this link and take advantage of the many benefits of membership.
- Direct downloads links
- No ads No waiting
- Download without any limitation ، all content in website
CGArchives Is The Best
Review
Review
Review this tutorial