RebelWay – Mastering Pyro in Houdini
 Mastering Pyro in Houdini
 Mastering Pyro in Houdini
Mastering Pyro in Houdini : This course is in depth lecture on how to create Highend pyro FX using Houdini and how to create a custom solver to achieve a unique look.
This course focuses on rendering highend volumes and explosions using Arnold.
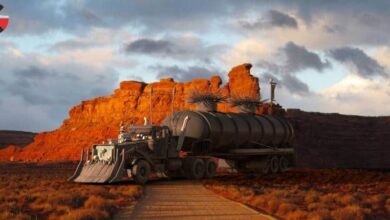
We will start from week 1 by building a good understanding of how smoke solver works in Houdini and create two simulations, the Tank shockwave and Rebelway logo as an exercise.
In week 2 we will learn how to use the Pyro solver in Houdini and as an illustration we will learn how to create Explosions and Fire and learn why we need to create a custom solver.
Week 3 we start creating our own solver that will get rid of the mushroom look once and for all and we will create a variety of FX element using it.
Week 4 we will start adding more feature, and primarily the ability to create Fire and we will create various element(please refer to the video for the examples).
Week 5 we continue improving our solver to add our own combustion model and to be able to simulation various types of explosions.
Week 6 we continue adding more features to the solver and learn how to create more complex sourcing.
Wee 7 we dive even deeper and start looking at adding volume displacement without creating rest fields, and learn how to create color fields and various other adv techniques.
Week 8, 9 we dive into arnold and learn the secret to realistic volume rendering, go over a variety of the sims created during the workshop and render them while exploring different techniques each time.
then we take a look at how to light the factory and set up all the passes to render the scene efficiently.
Week 10 Compositing
Disclaimer:
ONLY FINAL HIP FILES ARE INCLUDED WITH THIS WORKSHOP FOR WEEK1, 2, 3, 4, 5, 6 and 7.
REBELWAY CO IS UNDER NO OBLIGATION TO SHARE THE INSTRUCTOR FINAL PROJECTS AND HIP FILES.
This workshop contains lot more information and the weekly breakdown is just the highlights.
Reel and or example work and hip files will be requested to verify that the student has all the prerequisite needed to fully understand the course content.
This is a very advanced workshop and requires a lot of time and dedication and patience to master this topic.
It is crucial to have good hardware to be able to sim and render highres volumes (at least an i7 with 32gb memory or higher).
Sim time varies based on the resolution and the size of the grid and it can go any where from 4 hours up to 15 hours for 100 frames.
Student must have at least a Houdini Indie license to be able to render using Arnold.
WEEK 1
Intro to voxels and how to manipulate and create volume data in Houdini.
Intro to dops and smoke solver.
How does a smoke solver works.
Fume FX, Maya Fluids, and why Houdini Stands out.
Analyse various real explosions to set the goal for what we need to achieve.
Analyse various CG explosion done by big studio to understand where we are at in terms of volume rendering and simulation.
Iteration Iteration Iteration, how much tweaking do I need to get realistic sims.
Create the Tank shockwave FX as a first example to learn the basics of smoke solver and applying forces.
Create the Rebelway logo smoke simulation to further understand how to inject forces and sink density.
An in depth look at all the smoke solver settings and the best defaults that we need to use.
WEEK 2
An in depth look at the Houdini Pyro Solver and how does it work
Create an explosion (possibly a nuclear explosion) to understand how the solver works and it’s limitations.
An in depth look at allthe forces microsolver that ships with Houdini and their limitations.
How to use Pyro Solver to create fire.
WEEK 3
Learn all about microsolvers and how to properly utilize them.
Learn why we need a custom solver and set the goal that we need to achieve.
Create a custom solver smoke solver that get’s rid of the mushroom look once and for all using various microsolvers.
Add a very efficient way to create very detailed volumes without having to use super highres grids and by just combining various microsolvers.
Create a custom turbulence force that know where it needs to be applied and generates much more interesting details.
WEEK 4
Continue adding more features to our solver and this time we’re going to add support for creating Fire.
Create an engine thrust, and various other FX elements to further learn how to use the custom solver and tweak it.
WEEK 5
Continue working on the custom solver and add support for creating explosions with very complex expansions.
Add a very intelligent way that auto balances the explosion expansion, temperature and the speed at which it travels.
Extend the solver to add smarter noise masking features.
WEEK 6
An in-depth look at how to create various complex emission and tendrils.
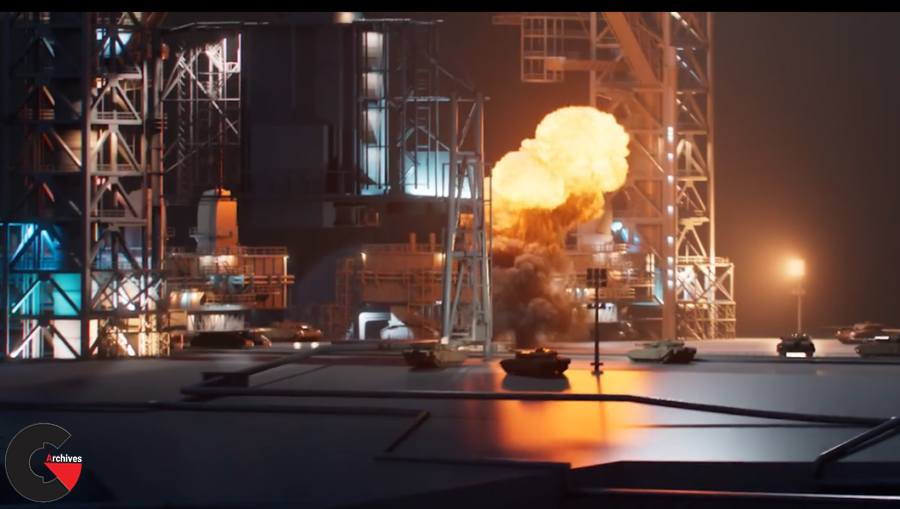
Create a massive explosion using complex emission and our custom solver.
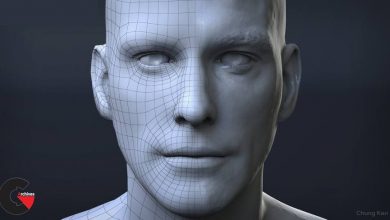
How to efficiently create collision and deal with highres meshes (robot simulation).
WEEK 7
This is a much more advanced section where we will take a look at combining sop solver, pop solver, and dops.
Use vdb and volume vops to process the data while it’s being used by dops.
Learn how to optimize sim data and work efficiently with very large volumes.
Color advection.
WEEK 8
Implement a technique that allows to do rendertime displacement without having to sim rest fields.
Extend the custom solver to support creating custom volume fields that can be later used to create various complex shading FX.
Unlock the secret to rendering photo-realistic smoke and explosions.
An in depth look at rendering various sims using arnold 5.0 and the latest standard volume shader.
For FUN, learn how to create specular component on volumes.
WEEK 9
lighting the factory and how to setup all the passes needed to render the scene in the most efficient possible way without sacrificing the quality.
TIPS and Tricks!
WEEK10
Learn how to use arnold aovs to further tweak the volume.
How to get the most out of volume aovs and how to add extra details in comp.
lB6MwSwNNIYYHz66UqInBRH/video%203/29654
Direct download links 36.3 GB :

Direct download link reserved for subscribers only This VIP
Dear user to download files, please subscribe to the VIP member
- To activate your special membership site, just go to this link and register and activate your own membership . >>>register and activate<<<
- You can subscribe to this link and take advantage of the many benefits of membership.
- Direct downloads links
- No ads No waiting
- Download without any limitation ، all content in website
CGArchives Is The Best
Review
Review
Review this tutorial