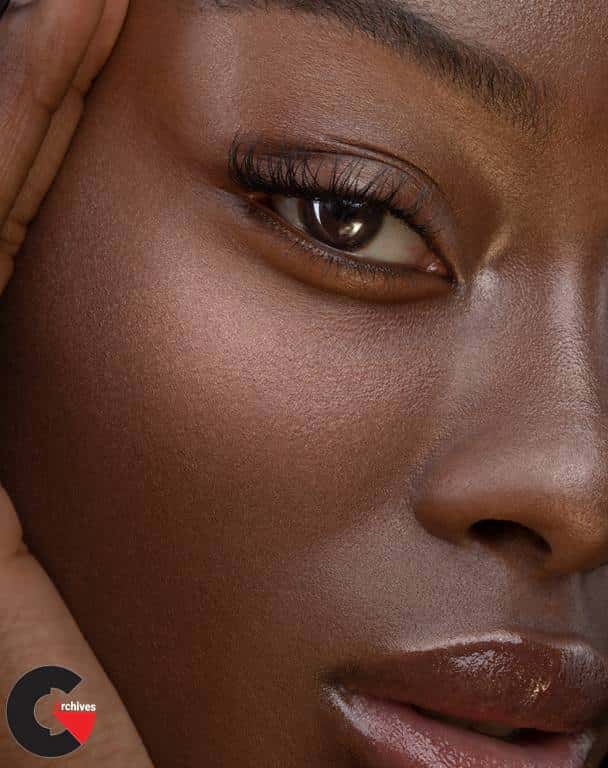

Professional Retouching Workflow – with Aaron Nace & Iulia David : Blemish removal. Dodging and burning. Frequency Separation. With so many different steps, professional retouching is a lot of work–but it doesn’t have to be complicated!
Master a complete professional retouching workflow. Learn every single tool, technique, and step required to make your subjects look great, and to impress your clients. From exposure adjustments and blemish removal, to Frequency Separation and sharpening, we take you through the entire process from start to finish while demonstrating the best order to perform each task. This course will help you retouch images faster and more efficiently than ever!
Follow along with the included RAW image captured by professional beauty photographer Iulia David!
- 1 RAW Sample Image
- 1 Sample PSD
- 1 Photoshop Brush
- 2 Photoshop Actions
Step-by-Step Retouching
Master Retouching Workflow
Learn how to perform a complete portrait retouch from start to finish, from importing detailed RAW files and making adjustments to exposure and color, to high-end blemish removal, dodging and burning, and frequency separation. By the end of this course you’ll be confident in every step of the pro retoucher’s process, and you’ll know the best order to tackle each step so that you can get the job done right the first time.
Included Photoshop Actions & Brushes
When you need to work quickly but with a professional and accurate result, look no further than our set of PHLEARN Photoshop Actions and Brushes! We take the busy-work out of complex tasks like frequency separation and sharpening so that you can focus on the art and craft of retouching.
Step-by-Step Guide
This course is a quick, step-by-step guide to a complete, professional retouching workflow. Join us as we perform a complete portrait retouch from start to finish, hitting every major tool and technique along the way. Learning professional retouching has never been faster and more accessible!
Blemish Removal
We all have tiny, temporary blemishes that tend to be more visible in high-resolution photography. Learn how to use tools like the Clone Stamp Tool and Spot Healing Brush Tool to reduce and remove distractions like pimples and even flyaway hairs.
Frequency Separation
When you need a portrait fit for a magazine cover, frequency separation is the most powerful technique in your toolbox to get a high-end result. Use our included PHLEARN Frequency Separation Action to smooth out harsh transitions between light and dark and help skin look soft and silky-smooth. Want to master the art of frequency separation? Then check out our popular course, How to Master Frequency Separation Retouching in Photoshop.
Retouching in Photoshop
With hundreds of tools and techniques at your disposal, it can be hard to find the right tool for the job–especially when retouching portraits. We show you our tried-and-tested methods for removing distractions, fixing exposure, enhancing details, and helping people look their very best.
Frequency Separation, Dodge and Burn & More!
Adobe Camera RAW
If you’re working as a professional retoucher, you need to be familiar with processing RAW images in Adobe Camera RAW. Learn how to use Adobe Camera RAW to make detailed adjustments to exposure, color temperature, and more! Be sure to check out our course on Adobe Camera RAW to learn every tip and tool it has to offer!
Exposure Adjustments
Even in photos captured in a high-end photography studio, you’ll need to make adjustments to balance the exposure. We show you how to make precise edits to exposure and even create multiple exposures to blend together for perfectly even lighting.
Sharpening
Sharpening is one of the most important steps in portrait retouching, helping enhance the details that matter most while guiding the eyes of the viewer around the image. We show you how to apply multiple levels of sharpening to different areas of a photograph, all using the included Photoshop Action. For an in-depth look at the sharpening process, check out How to Master Sharpening in Photoshop.
Dodging & Burning
Add stunning definition to your photos with professional dodging and burning in Photoshop. Enhance the natural highlights and shadows in an image to create contrast and give your subjects realistic depth and shape.
High-End Retouching
If you’re a working retoucher, getting a high-end result doesn’t have to take hours and hours of work. We show you how get professional results quickly by simply performing the necessary steps in the best possible order. Learn to work efficiently, non-destructively, and keep your projects organized while delivering a stunning final product.
Picture-Perfect Skin
Skin requires special care and attention during the editing process. Removing too much of the natural detail can result in an unrealistic and unnatural look. We show you how to work carefully with skin, only removing the enough distractions to help the subject look their best while leaving them with their own unique and beautiful features.
lB6MwSwNNIYYHz66UqInBRH/video%204/27115
Direct download links 6.3 GB :
Direct download link reserved for subscribers only This VIP
Dear user to download files, please subscribe to the VIP member
- To activate your special membership site, just go to this link and register and activate your own membership . >>>register and activate<<<
- You can subscribe to this link and take advantage of the many benefits of membership.
- Direct downloads links
- No ads No waiting
- Download without any limitation ، all content in website
CGArchives Is The Best
Review
Review
Review this tutorial