Developing a Workflow for Rendering Fur in V-Ray
 Developing a Workflow for Rendering Fur
 Developing a Workflow for Rendering Fur
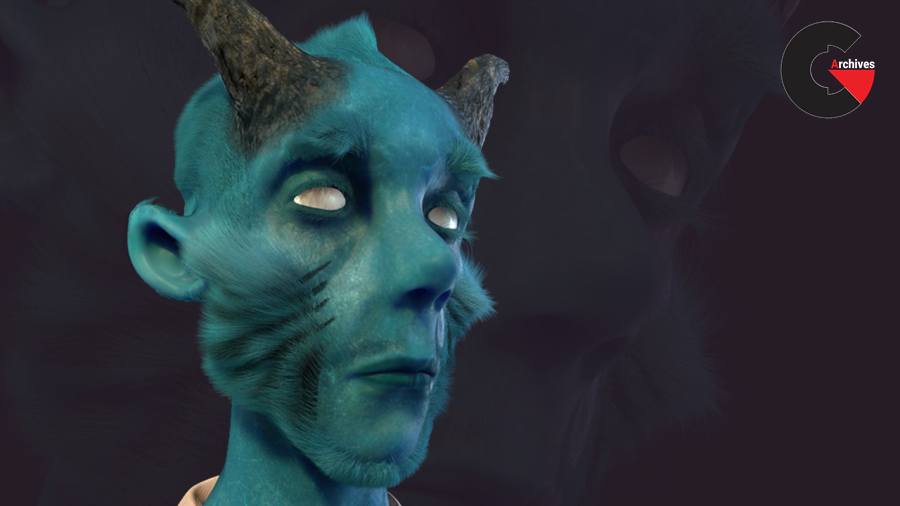
Developing a Workflow for Rendering Fur in V-Ray : Throughout these lessons, we’ll learn how texture maps are driven to stylize fur, how to paint maps, and also how to optimize settings while rendering V-Ray fur. We’ll start by going over basic parameters within the fur tool then continue with discussing the Vertex Paint tool, paint density maps, generate length maps, form thickness maps, produce gravity and bend maps, set up lighting and material shader, and finish with rendering and compositing our final image. By the end of the course you should have a strong understanding of a V-Ray fur workflow.
Software required : Maya 2012, NUKE 7.0v6, V-Ray.
Developing a Workflow for Rendering Fur in V-Ray:
- Setting up parameters
- Exploring the Vertex Paint tool
- Applying a density map
- Generating a length map
- Forming a thickness map
- Producing a gravity and bend map
- Understanding bend direction
- Setting up a 3 point light
- Applying a color shader
- Rendering the fur
- Compositing our final image
lB6MwSwNNIYYHz66UqInBRH/video/7835
Direct download links 1 GB :

Direct download link reserved for subscribers only This VIP
Dear user to download files, please subscribe to the VIP member
- To activate your special membership site, just go to this link and register and activate your own membership . >>>register and activate<<<
- You can subscribe to this link and take advantage of the many benefits of membership.
- Direct downloads links
- No ads No waiting
- Download without any limitation ، all content in website
CGArchives Is The Best
Review
Review
Review this tutorial