 houdini rocket ship
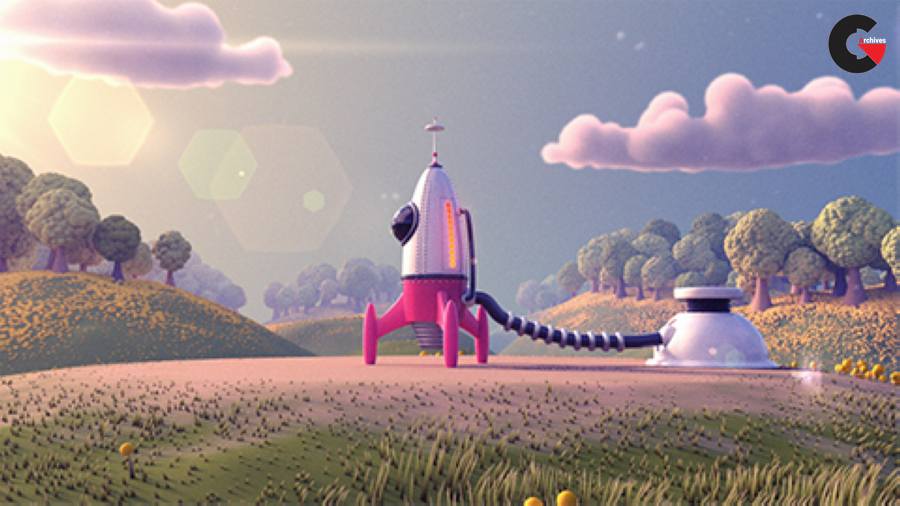
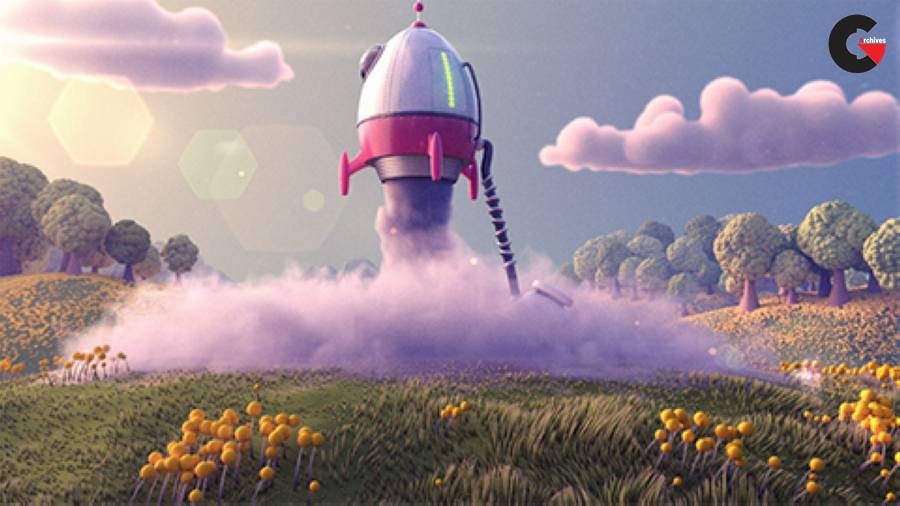
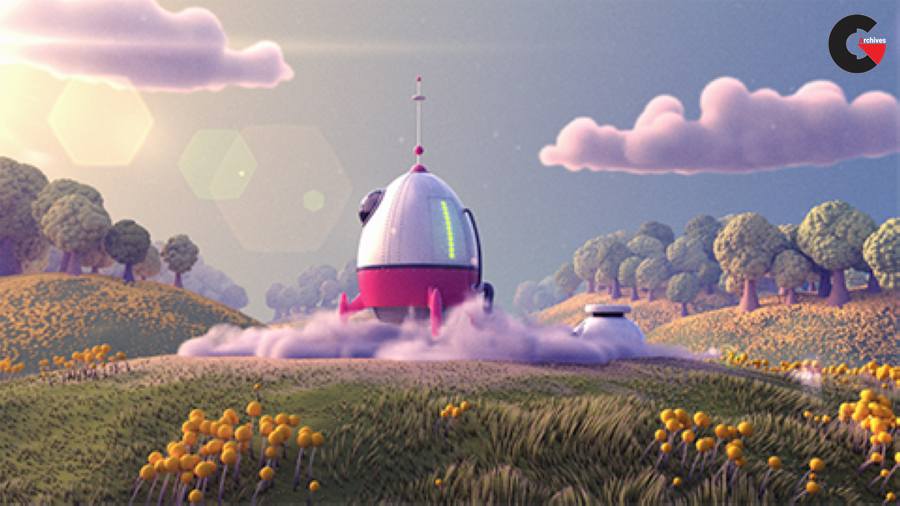
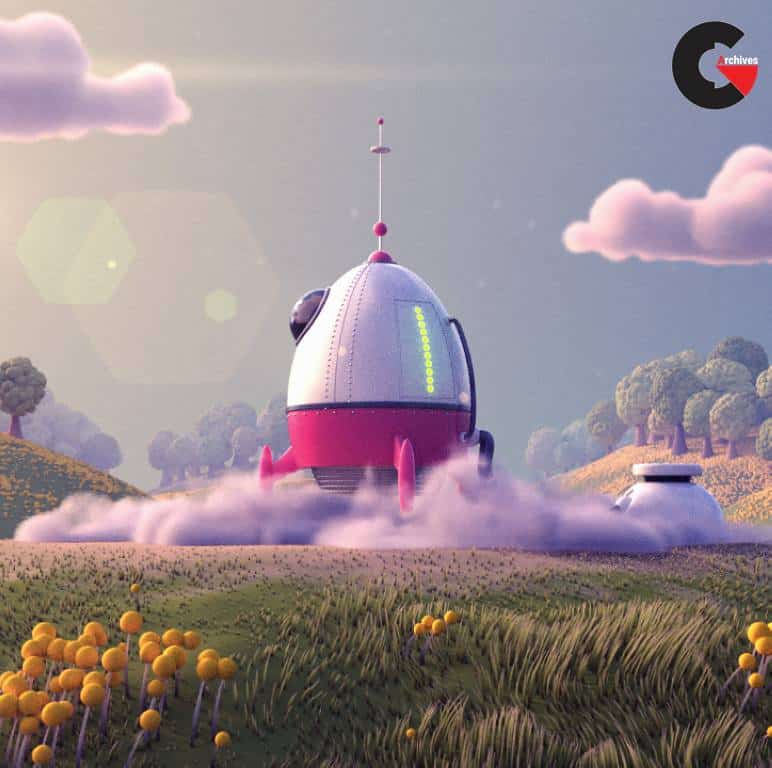
houdini rocket ship : The idea behind this training was to create a project that will take the viewer through a variety of aspects of Houdini without making the project overly complex or technical.
Over the course of this project we will cover a whole range of topics which include Procedural modelling, Polygonal modelling, Environment Generation, Cloud modelling, CHOPs, RBD, Constraints Network, Smoke Simulation, Materials, Lighting using HDRI, setting up Takes, Rendering and Final composite in After Effects.
The training is broken into 3 parts. You can read the details of each part below the break.
part 1 – modelling the rocket ship
Content Details – 10 Video Chapters (with Audio)
Duration – 2 hrs
lesson plan
- Rocket Shape – Setting up the basic Rocket shape using VOPs
- Cockpit – Modelling the cockpit using the Ray SOP and the Cookie SOP
- Rocket Panels – Adding details to the Rocket body by dividing it into panels
- Control Panel – Adding charging lights on one of the panels
- Cable – Adding a fuel cable to the side of the rocket.
- Rivets – Modelling rivets on the rocket body and controlling their size using Pscale
- Rocket Nose – Modelling the rocket nose and ensuring the size is linked to the size of the rocket
- Exhaust – Build the rocket exhaust by extracting curves from the base of the rocket body
- Rocket Body – Constructing the rocket body
- Rocket Final – Adding finishing touches to the rocket model
part 2 – modelling the scene and animation using chops
Content Details – 8 Video Chapters (with Audio)
Duration – 2 hrs 20 mins
lesson plan
- Air Pump – Modelling the air pump using the poly modelling tools in Houdini
- Launchpad – Building the foreground hill on which the Rocket stands and adding the grass
- Hills – Using a combination of cellular and noise textures to build the background hills
- Trees – Modelling the trees on the hills
- Flowers – Adding some flower like structures on the hills
- Clouds – Modelling custom clouds using the Cloud SOP and the Clouds noise SOP.
- CHOPs – Animating the rocket body and the air pump using procedural animation curves generated using CHOPs
- Rocket Animation – Adding additional animation to the rocket using simple keyframes
part 3 – modelling the scene and animation using chops
Content Details – 9 Video Chapters (with Audio)
Duration – 2 hrs 27 mins
lesson plan
- Cable RBD set up – Setting up the RBD set up for the cable animation
- Constraints Network – Adding the constraints to the RBD set up
- Cable Construction – Constructing the cable out of the simulated RBD objects
- Smoke Set up – Setting up the elements required for the smoke simulation
- Smoke Simulation – Simulating the smoke for the exhaust
- Lighting – Lighting the scene using a combination of HDR images modified using COPs and the sun and sky system
- Materials – A basic explanation of the Mantra Surface and building the materials required for the scene
- Takes – Setting up takes and passes for the final render
- Rendering and Compositing – A brief look at the Mantra render setting and the final composite in After Effects
Pictures of this course :
lB6MwSwNNIYYHz66UqInBRH/video/11959
Direct download links 2 GB :
Direct download link reserved for subscribers only This VIP
Dear user to download files, please subscribe to the VIP member
- To activate your special membership site, just go to this link and register and activate your own membership . >>>register and activate<<<
- You can subscribe to this link and take advantage of the many benefits of membership.
- Direct downloads links
- No ads No waiting
- Download without any limitation ، all content in website
CGArchives Is The Best
Review
Review
Review this tutorial
 houdini rocket ship