Shading with redshift tutorial
 Shading with redshift
 Shading with redshift
Shading with redshift : In a very short time GPU rendering has taken the industry and is now is been used for a lot of amazing projects and there is no denying that Redshift has been the leading renderer, everyone is talking about it and is been used by a lot of artist because of it’s speed and scalability, that been said more and more people need to learn the in and out of Shading with Redshift and in this course you will learn all the tools, tricks and techniques you need to render amazing looking images using Redshift, we’ll be using Redshift version 2.6 which bring a lot of new features and the new Optix denoiser.
So if you need to learn Redshift Shading, this is the course for you.
Topics you will learn :
By the end of this training you will have a clear understanding of the following topics
- Creating and assigning Redshift shaders in the different way available in Houdini
- Understanding of the RS Material Shader parameters
- How to group and organize geometry for shading
- Creating different kinds of shaders like, glass, metal, ceramic
- How to assign textures in different channels, diffuse, normal, roughness.
- Importing geometry color to use on the shader
- Creating SSS shaders
- Lighting your scene with HDR images and area lights
- Creating a custom Python utility tool that makes shading simpler
- Blending several shaders to get more complex shading
- Using and combining different Noise shaders to create complexity
- Understand how samples affect your final render and how to tweak them
- Render settings overview
- Using the New Optix Denoiser
Requirements
A basic knowledge of Houdini in general
- Houdini Indie at least
- Redshift 2.6
Also used:
Tabttoo, not a requisite but makes your work faster
This course was recorded on Linux, everything should work the same in any other OS that Houdini runs.
What you will be learning in each chapter
Chapter 1 : Overview
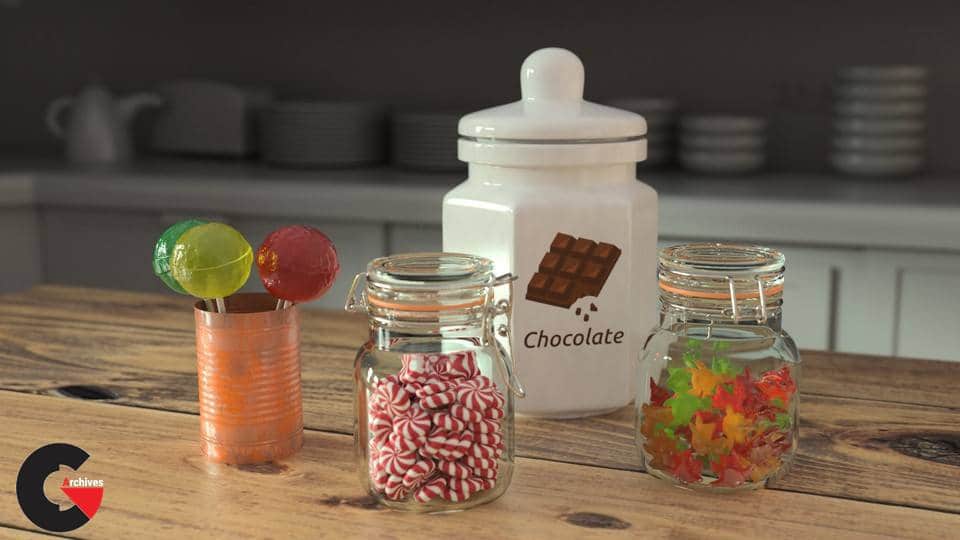
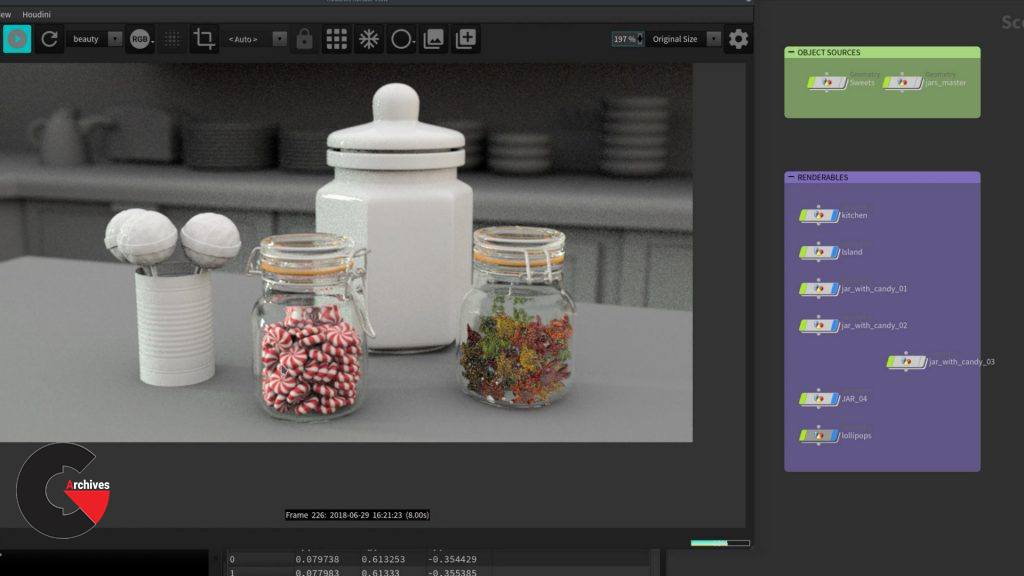
Welcome to the project, we’ll take a look at the hardware and software we’ll be using during this project, next well take a look at the final scene that you will be creating, some of the techniques, tips and tricks, the shaders and we will even create our own tool to help us while we are shading to connect any node and visualize it quickly.
Chapter 2 : Shaders introduction
Before we dive into the world of GPU rendering with Redshift we need to know the basics, here we learn how to create shaders and the different ways to apply then in Houdini, this is a little different than using Houdini Mantra.
Chapter 3 : RS Material overview
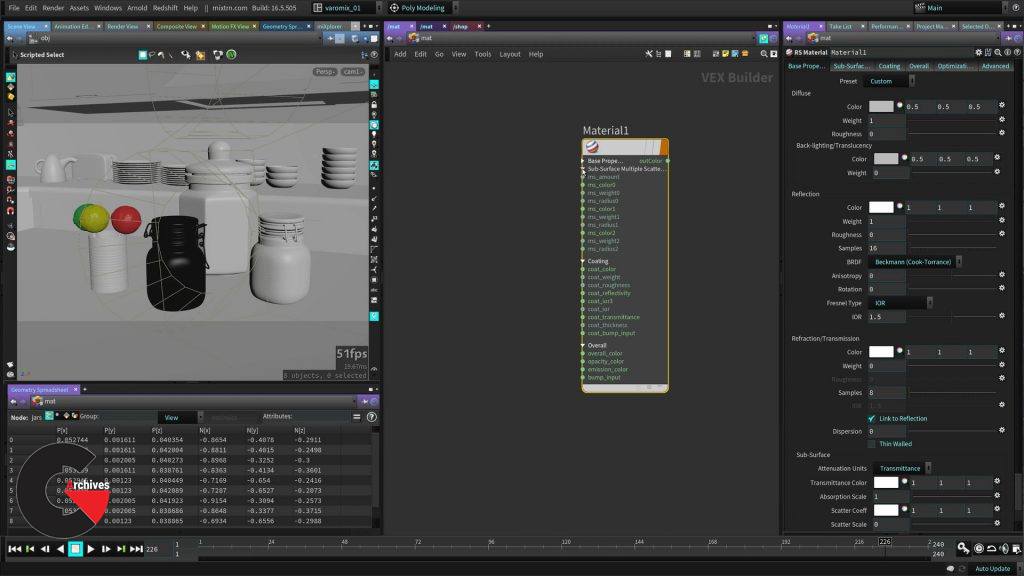
In this chapter we will explore the most important parts of the RS Material, this is what is called and UBER shader, because it contains everything you need to shade most objects. We will talk roughness and explain exactly what that is, why there’s different sections on the shader and what each of those sections do for us when shading. The RS Material is really simple to use, still the shader is very deep and is able to give you very good results really fast.
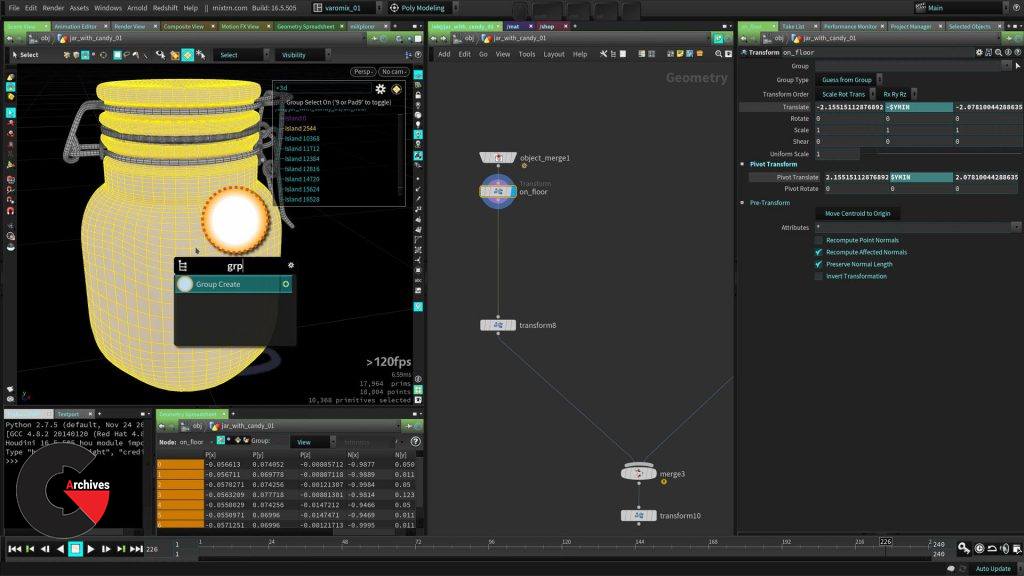
Chapter 4 : Creating groups for shading
As shading artist, we need to organize the scene in a different way that modeling does sometimes, because we see the model in terms of shaders instead of parts, that why in this section we prepare the geometry by using groups so is easier and efficient to apply the shaders we need, is in this part of the process that we put our thinking hats and take a moment to plan what shaders we need and how we will need to assing them.
Chapter 5 : Jar Shaders
Now that we have our prep ready we can start shading the first one of our objects, the Jar, this will involve a few shaders and different types of materials like Glass, Metal, Rubber and later an extra material for the candy inside the jar. We will start simple by using presets and tweaking what we need.
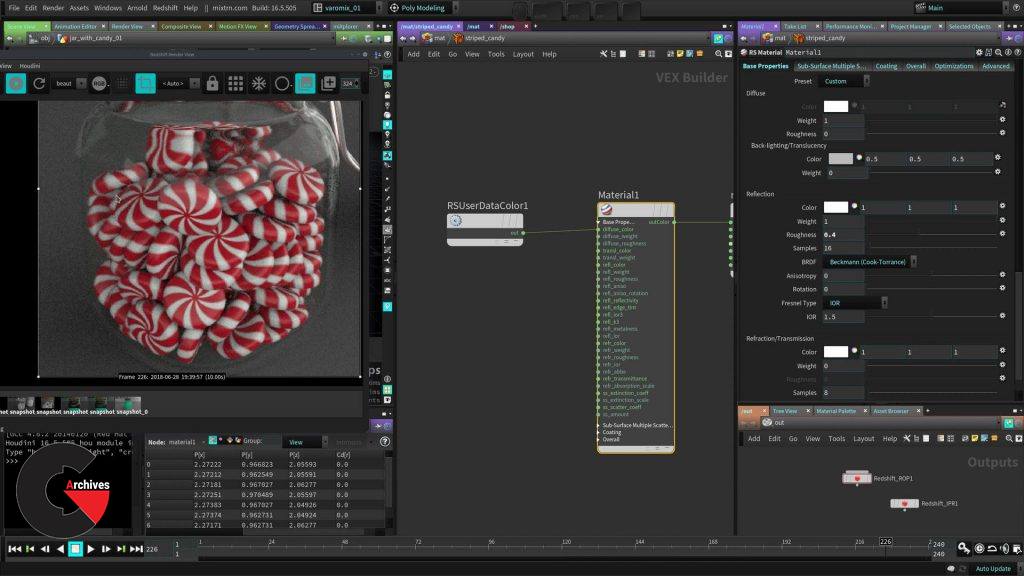
Chapter 6 : Colors from geometry and candy shader
In Houdini, there are many way to assign color to objects, like on the points and on the primitives (faces) sometimes is really useful to do it this way because we can use the Houdini tools to vary the color for each copy or give some other variation, here you will learn how to take that color applied at geometry level and bring it to the shader to use it in different ways, in this case for the diffuse color.
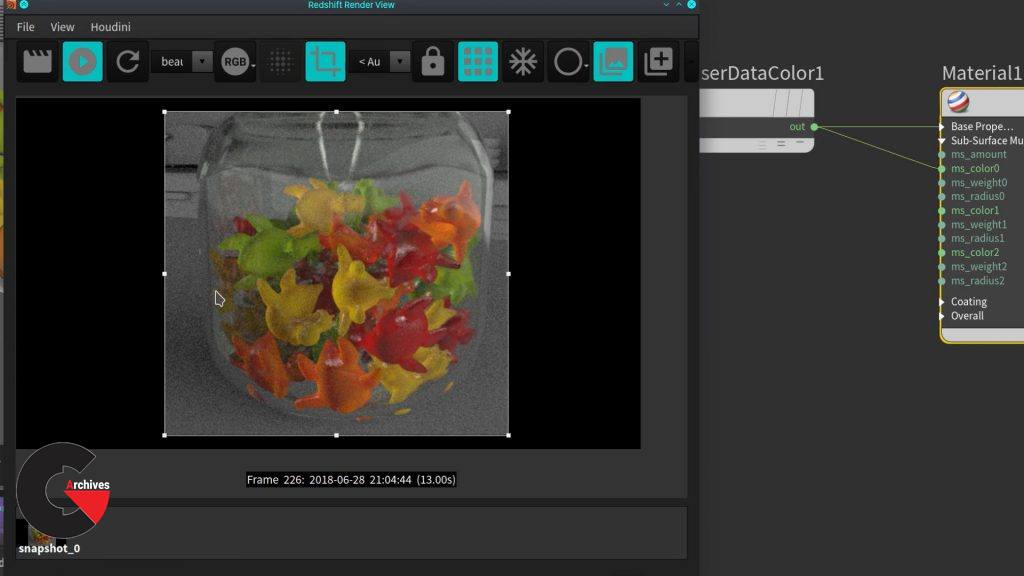
Chapter 7 : Gummy candy shader
The gummy candy shader is quite different from what we been doing so far, this shader allows light to go inside the surface and then breaks the light rays inside, that is basically what an Subsurface Scattering Shader(SSS) does, we talked before about how roughness break and spreads light on the surface, well this is very similar but does it on the volume of the shader simulating light moving inside the surface, other examples of materials the behave like this are, wax, milk and your skin.
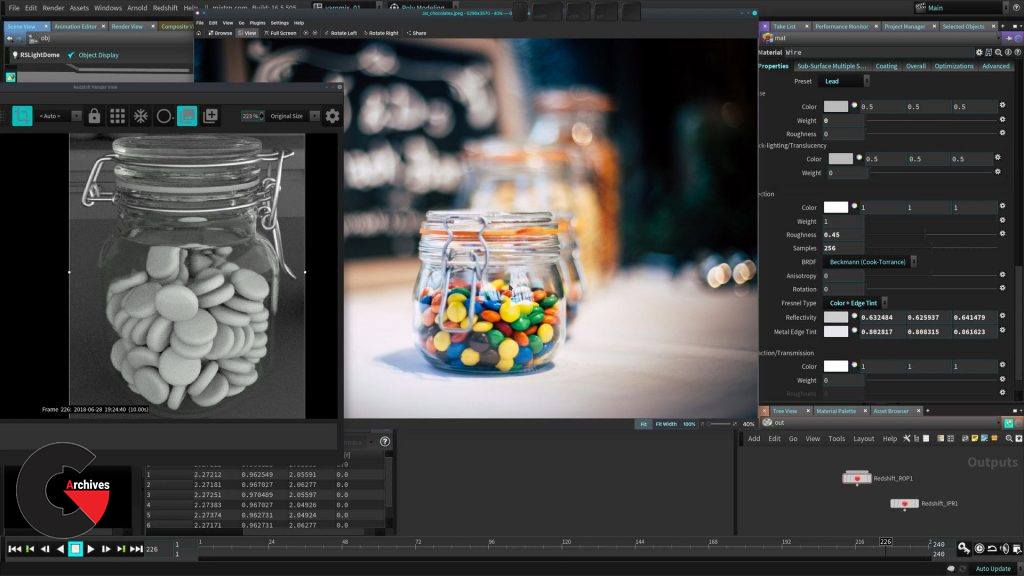
Chapter 8 : Scene lighting
When you are shading sometimes there a lighting artist that might do that specific task, sometimes you already have a lit scene and sometimes you just work with a basic setup so the lighting artist take your scene and finishes that, here you will play the role of the lighting artist as well so we can render this image later. We will keep the lighting simple using a HDR image to have interesting reflections on our glass objects and a top light, the mood or idea of this is something really clean and evenly lit.
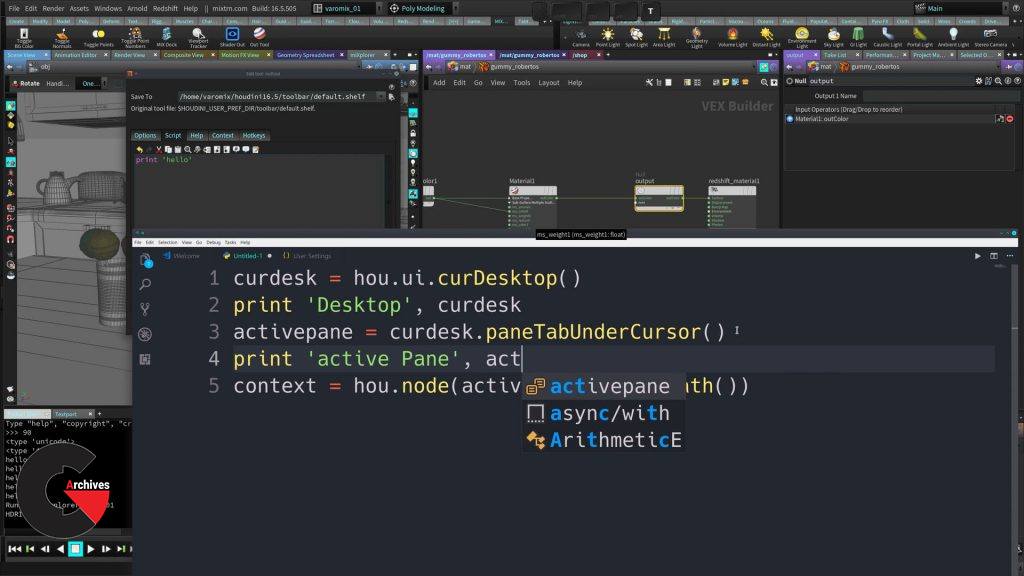
Chapter 9 : Connect output tool (Python scripting)
Every artist becomes 10 times more valuable when he knows some kind of scripting and there is no denying Python is an industry standard and in this chapter you will learn how you can very simply create a very useful tool with just a few lines of code that is very readable and simple, having this tool on your belt makes you more productive and a better artist overall.
This tool connects any node you have selected to an output node so we can see the result of that specific node in the render and clearly judge what is happening at that stage of the shading.
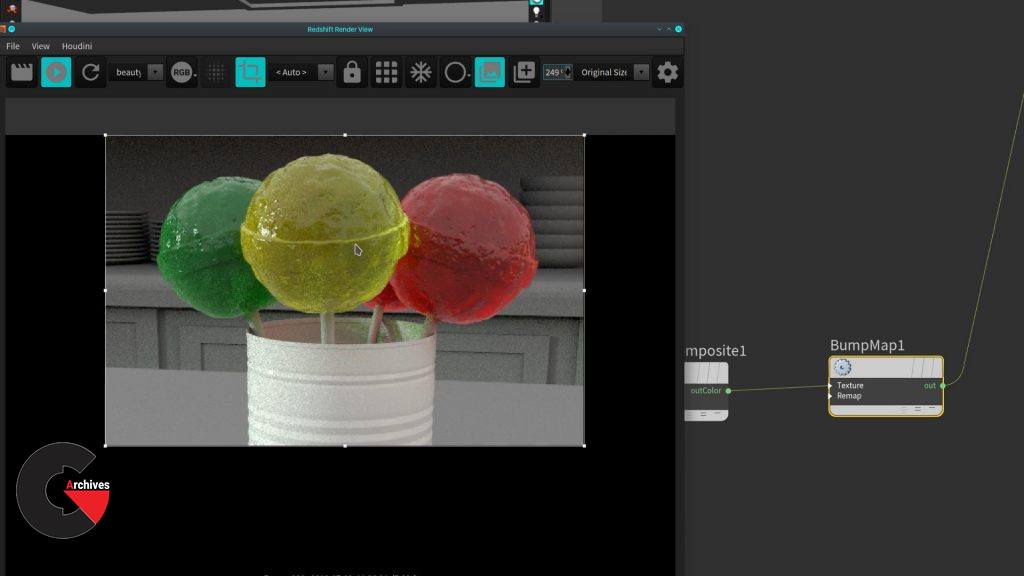
Chapter 10 : Lollipop shader
This shader involves a few more of what you have been learning, you are dealing here with the surface and the light absorption as well plus you will add bump map using the Redshift Noise node.
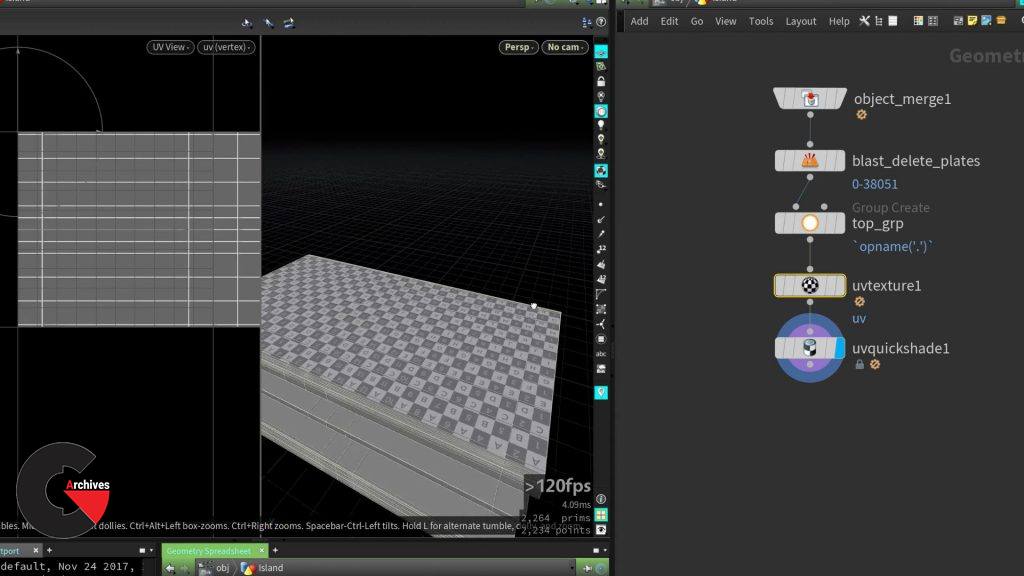
Chapter 11 : Countertop UVs and texturing
As we mentioned before at a big studio other artists will be working on the assets you are shading as well and UVs might already be ready most of the time, that doesn’t mean you shouldn’t know about UVs, is actually really important part of the shading artist, specially when you start using maps to shade your objects, so in this chapter you will learn a short introduction about UVs in Houdini, for an in-depth training in UVs we recommend our UVs and Shading course.
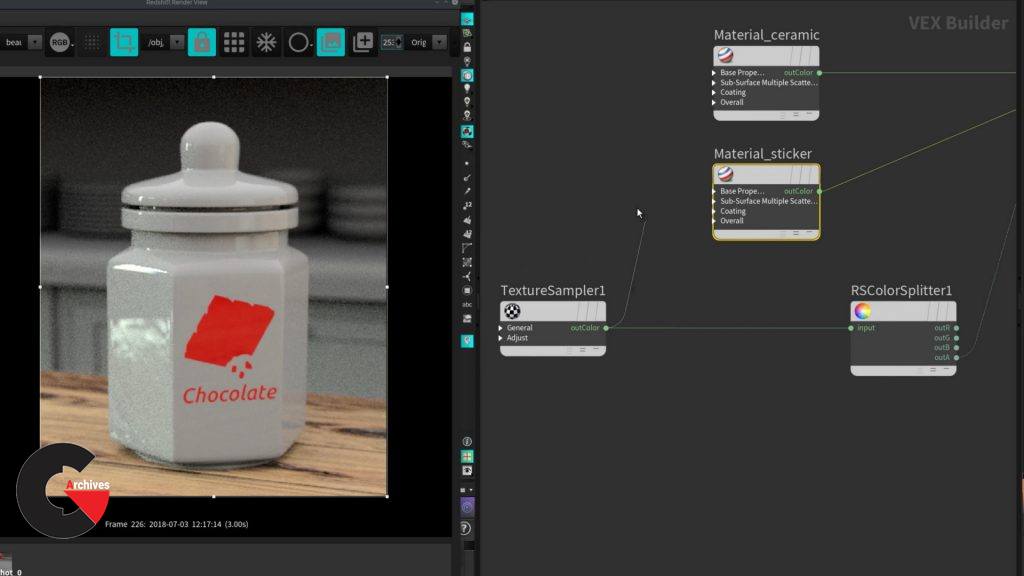
Chapter 12 : Cookie jar shader
This shader looks simple, some new topics will be introduced like the use of texture maps and the super useful RS Material Blender that allows you to blend FULL material using different techniques, you will also learn the importance of breaking object reflection to make the material more natural like is has been used and or touched by someone.
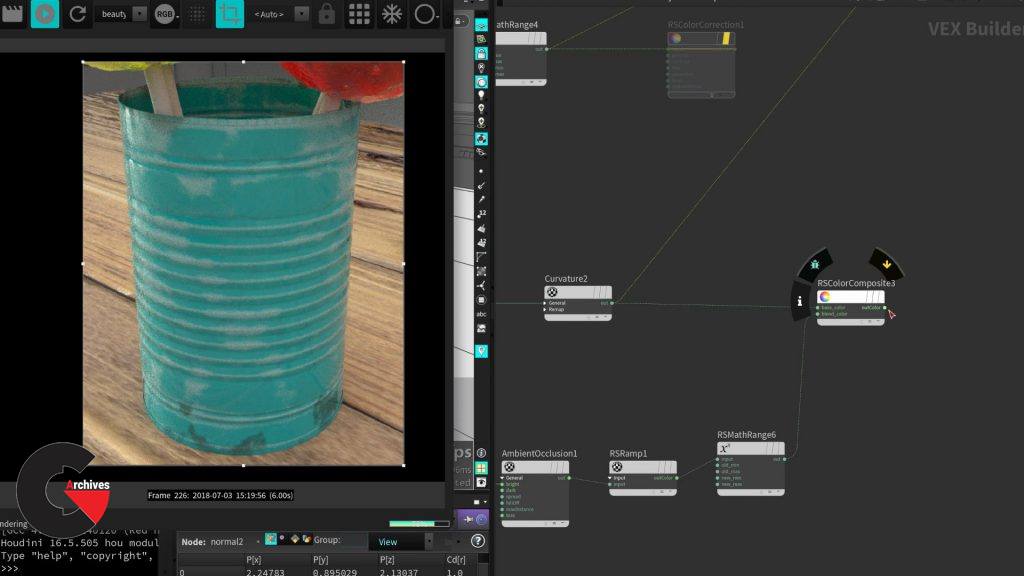
Chapter 13 : Tin can shader (advanced)
After all the different shader you made this shader takes it to the next level, you will use noises, AO, Curvature and combine different noises to create a very interesting shader right inside of Houdini, this will open the doors for more complex shading you will need. You will make extensive use of your new shading tool created before and you will even use user painted areas in geometry directly to control areas of your shading.
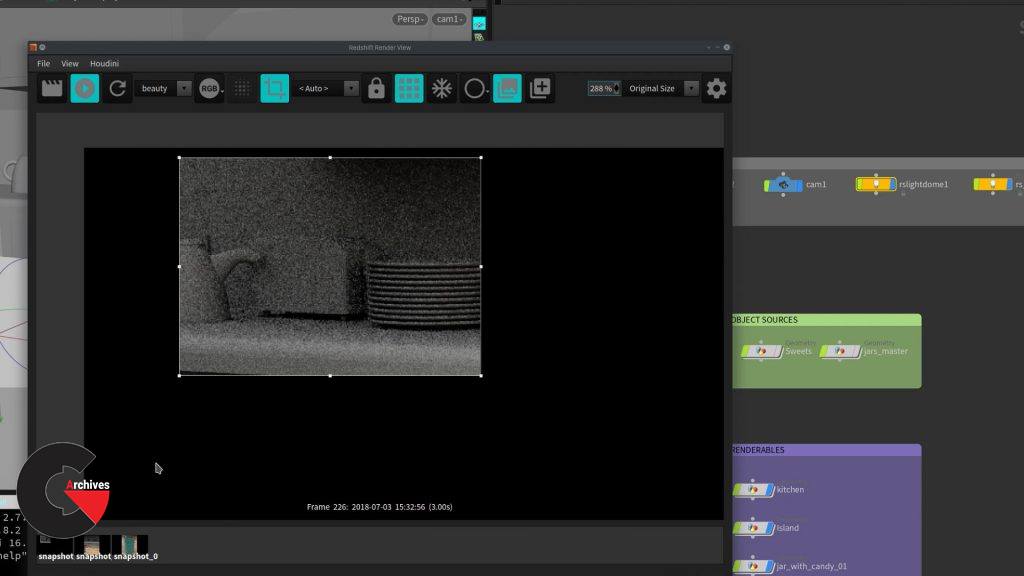
Chapter 14 : Lights and Samples
Shading in Redshift is linked directly with samples, for lights and for the different features of shaders, you will learn why this is very important and how to tweak the different areas that affect noise in your scene and why is important not to just rely on the sampling settings on the render node.
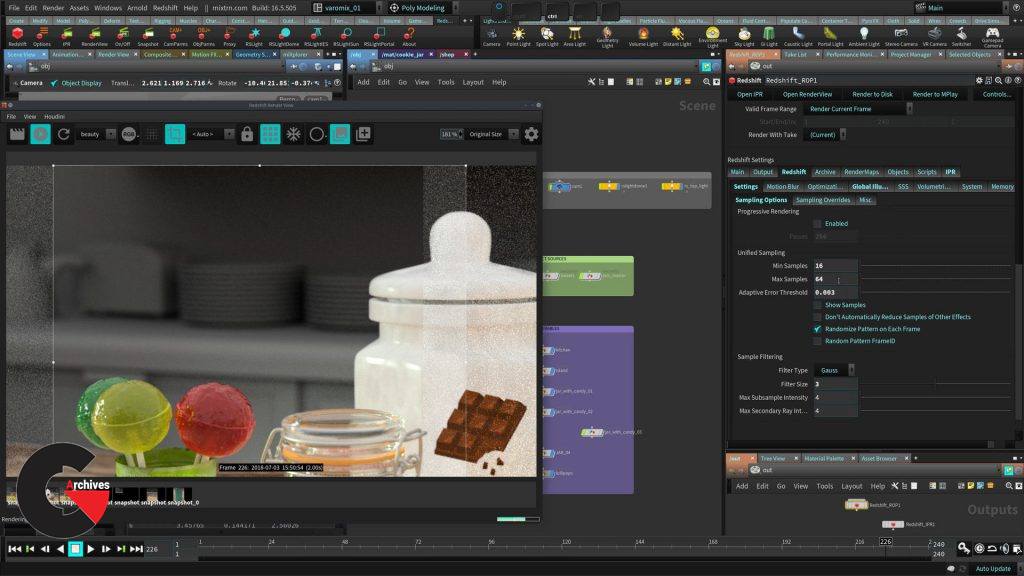
Chapter 15 : Render settings
Now you will learn the most used settings in Reshift again Redshift makes this super simple still there are enough parameters for special cases or advenced users. You also learn how to clean up noise from other effects like Depth of Field (DOP) the samples for that are controlled specifically in the Redshift render node. we will also add Global illumination to our scene to give it the final look for rendering.
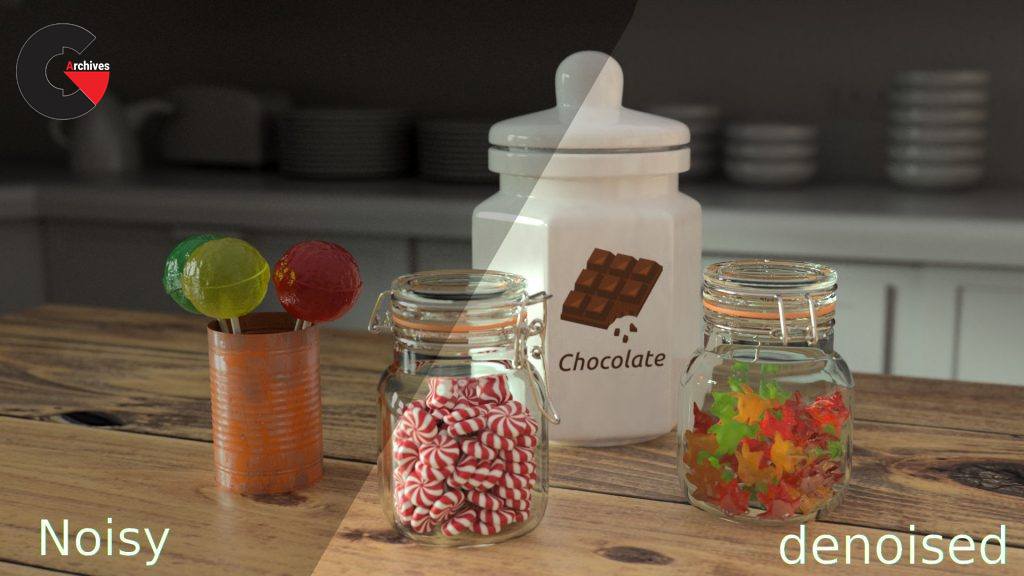
Chapter 16 : Optix Denoiser
With Redshift version 2.6 we got the new Optix denoiser that does exactly what you think and works very nice for images like the one we are working on, cleans up noise quite good, this means you can render with less samples and have very similar result with less render time. Using it is really straight forward you will be using it in all your renders in no time.
Pictures of this 3d models :

Watch the Introduction Video:
lB6MwSwNNIYYHz66UqInBRH/video/6001
Direct download links 7 GB :

Direct download link reserved for subscribers only This VIP
Dear user to download files, please subscribe to the VIP member
- To activate your special membership site, just go to this link and register and activate your own membership . >>>register and activate<<<
- You can subscribe to this link and take advantage of the many benefits of membership.
- Direct downloads links
- No ads No waiting
- Download without any limitation ، all content in website
CGArchives Is The Best
Review
Review
Review this tutorial