CGMA – UE4 Modular Environments with Clinton Crumpler
 UE4 Modular Environments
 UE4 Modular Environments
UE4 Modular Environments with Clinton Crumpler : A 10-week course focused on developing a fully-realized environment by using modular parts in Maya and Unreal Engine 4.
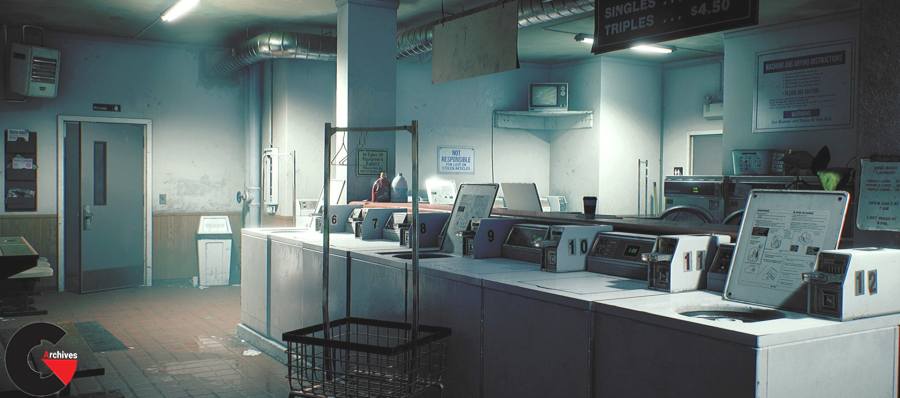
Create beautiful environments with UE4
In this course, students will be taught how to break down reference and develop a list of reusable assets. With this list, students will then use both Maya and the Unreal Engine to create a fully realized environment with portfolio screenshots. The class will cover: – Unreal Engine 4, Maya, Substance Painter, Quixel Suite, Quixel , Marmoset, Mightbake
COURSE FORMAT: Standard
LECTURE TYPE: Pre-recorded
FEEDBACK: Individual recordings
DURATION: 10 weeks
MATERIALS: Maya (or equivalent) Unreal Engine 4 Photoshop
SKILLS LEVEL: Advanced
PREREQUISITES: Knowledge of Maya, ZBrush, Unreal Engine, Substance; Texturing and Shading for Games
WHAT YOU’LL LEARN
The more you know, the better.
Week 1 | Observing Our Reference
Students will learn how to observe multiple references and break it up into repeated textures and assets. They will then begin with a basic block out of their scene creating and using modular pieces to fill it up. Throughout this process it will be important to think about breaking up the textures into main textures, secondary, and decals. We will also look at the tools Maya offers for modular workflows.
Week 2 | Importing Blockout Into UE4
Students will begin importing their initial blockout meshes into Unreal Engine. We will cover basic Unreal 4 tools, grid snapping, and using our modular meshes inside of Unreal 4 to build our scene. Students will also begin to flesh out their visual narrative aspects of the scene.
Week 3 | Building Our Textures
Students will take the plans they made in weeks 1 and 2 to start to break up their models and their respective textures into two lists: ones that they would like to tackle as tileables and the others as uniques. Students will also take note if any large-scale sculpting is needed from ZBrush.
Week 4 | Building Textures in Photoshop and Baking in Marmoset/ Mightybake
Students will learn how to create repeatable textures using Maya and Photoshop. With emphasis on ensuring repeatability without making it obvious across large surfaces. We will first establish our normal, metalness, and ambient occlusion we will be using for the final textures.
Week 7 | In-Depth UE4 ShaderTreatment
How to create more advanced shaders that can be used for vertex painting, color variation, and exposing parameters in material instances. We will also look at creating a master material to ease the control of the majority of the assets within the scene. These features will help us to make our modular pieces look more unique and less “tiling” inside of the engine. We will also cover setting up our decals and the thought process behind what should be a “decal” and what can be “vertex painted.”
Week 8 | Secondary Details
How to add secondary details to your scene, such as wires/cables,signs, small props, and storytelling: Students will also spend time focusing on development of the visual story elements within the scene. Lastly, we will be creating some additional modular models that can be used as secondary details “on top” of our large modular pieces for variation and asymmetry within our scene.
Week 9 | Unreal Engine Lighting Setup
Students will begin adding lights to their Unreal 4 scene and recognizing the importance of colors. We will see how to break up the repetitiveness of the scene with different lighting environments and how shadows can work to our advantage. At this point we can also begin looking at composition for our final renders within the scene.
Week 10 | Finalize the Scene
In week 10 we will use everything we have learned to add any additional details, decals, props, vertex painting, and lighting to “finalize the scene.” We will also learn how to take the highest quality screenshots within the Unreal Engine and see how “post process” volumes can add a great deal of interest to our scenes. We will also cover simple post process tweaks of our screenshots inside of photoshop. Students will have between 4 – 5 final images of the scene they have created at this point, as well as a handful of textures/re-usable assets for future scenes.
Direct download links 4.8 GB :

Direct download link reserved for subscribers only This VIP
Dear user to download files, please subscribe to the VIP member
- To activate your special membership site, just go to this link and register and activate your own membership . >>>register and activate<<<
- You can subscribe to this link and take advantage of the many benefits of membership.
- Direct downloads links
- No ads No waiting
- Download without any limitation ، all content in website
CGArchives Is The Best
Review
Review
Review this tutorial