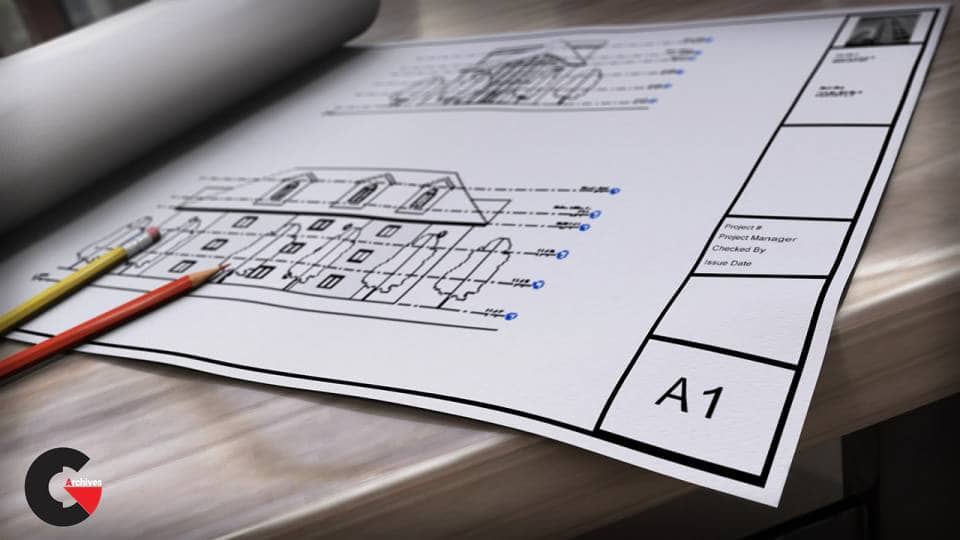
Creating Title Blocks in Revit
Creating Title Blocks in Revit : In this series of lessons, we’ll learn to design a professional looking title block by customizing the layout of our sheet. We’ll begin by setting a border and title block for our sheet. From there, we’ll learn to add text, a logo and labels that can be customized to your firm’s standards. And finally, we’ll take a look at how to add views like plans and elevations onto your customized title block.
Contents :
- 1. Introduction and project overview 00:42
- 2. Choosing your paper size and creating a border for your title block 07:10
- 3. Adding text and a logo to your title block in Revit 07:04
- 4. Creating labels for title blocks in Revit 07:19
- 5. Placing and arranging views on sheets and title blocks 05:14
lB6MwSwNNIYYHz66UqInBRH/video%20g/34299
Direct download links 260 MB :
Direct download link reserved for subscribers only This VIP
Dear user to download files, please subscribe to the VIP member
- To activate your special membership site, just go to this link and register and activate your own membership . >>>register and activate<<<
- You can subscribe to this link and take advantage of the many benefits of membership.
- Direct downloads links
- No ads No waiting
- Download without any limitation ، all content in website
CGArchives Is The Best
Review
Review
Review this tutorial