FXPHD – MYA227 Transitioning from Mental Ray to Arnold
MYA227 Transitioning from Mental Ray to Arnold
MYA227 Transitioning from Mental Ray to Arnold : This new Maya course is specifically designed for artist looking to move from Mental Ray to Arnold. Mental Ray was first bundled free with Maya 4.5 back in 2002, but over the years other renderers such as Arnold have become faster and easier to use. With the release of Maya 2016, Autodesk removed Mental Ray and replaced it with Arnold. The goal of this course is to help artists make the inevitable transition as smoothly as possible by comparing both renderers side by side and showing how to take the knowledge acquired over years of Mental Ray use and quickly transfer it to Arnold.
We have broken the course down into logical sections. The first class hits the ground running by quickly covering all the bases with one straightforward project. From there we slow down and focus on each of the major areas associated with a render engine. Firstly the renderer itself, then shaders, lighting, camera, render passes, AOV, and finally a mixed bag of various built-in utilities and other more technical features and tricks.
The course is taught by Matt Leonard who has been in the 3D and Visual Effects industry since 1990. He has been using Maya since its release in 1998 and Arnold since 2011. He works for Industrial Light and Magic as a Technical Trainer and before that he was the Lead Lighting and Rendering Trainer for MPC. He currently lives in Vancouver with his wife and three kids.
We start with a basic overview of Arnold for Maya, looking at how it compares generally with Mental Ray and its seamless integration with Maya. From there we jump straight into Arnold creating Shaders, Lights, a Camera, and finally setting up and tuning the Renderer. By the end of this first class you’d have created your first Arnold render.
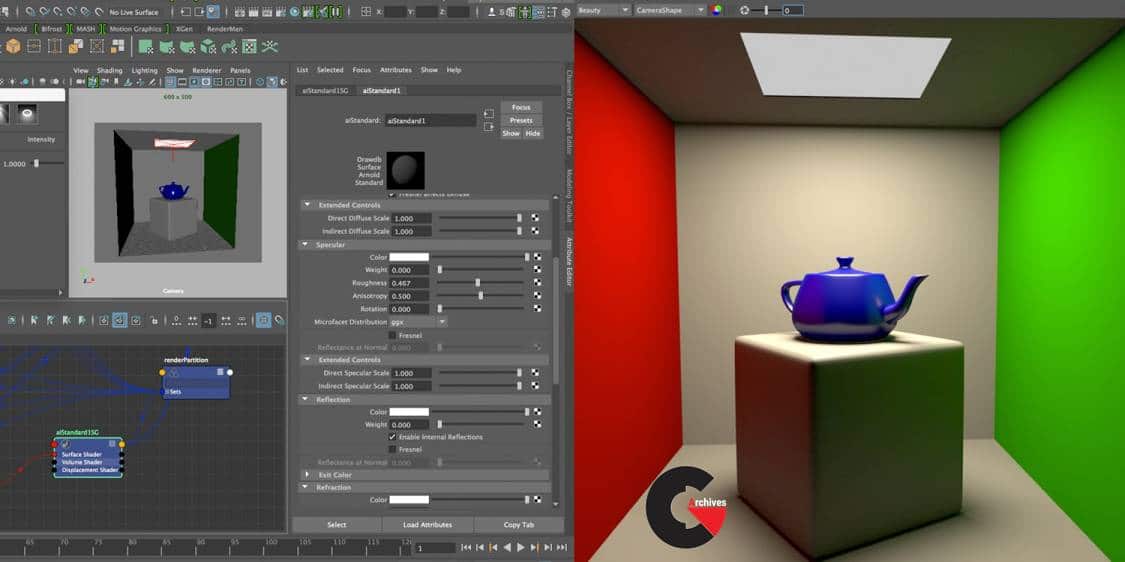
All about the Arnold Renderer, its settings and parameters. We run two scenes side by side, one using Mental Ray and the other Arnold focusing on speed and flexibility. In Arnold we specifically look at Sampling, Ray Depth, along with Object Settings and the Region of Interest found within Arnold’s Render View.
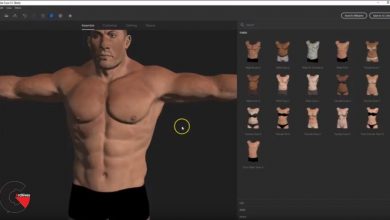
We move our focus to the Shaders of Arnold. We start by looking at the many shaders that ship with Mental Ray and then more on to look at the small but extremely flexible list of Shaders for Arnold. We look at the key areas of the AiStandard shader, Diffuse, Specular, Reflection, Refraction, Bump and more, before looking at the over Shaders for Skin, Utilities and much more besides.
We look at the differences between Mental Ray and Arnold in the area of Lighting. We delve deep into the main Arnold Area Light, SkyDome Light and Mesh Light. We look at key areas such as Exposure, Color Temperature, Blockers and the like. We also spend some time in Nuke looking at how to adjust an HDRI to get the best out of an our-door screen but adjusting the exposure of the sun to create more realistic shadows.
We focus on cameras and how in Arnold they closely mimic that of a real photographic camera through way of f/stop adjustments, Rolling Shutter, Depth of Field and Motion Blur. We also look a an number of tricks to help get the best out of the Renderer by adjusting the Camera Samples vs. Diffuse and Glossy.
We look in-depth at Render Passes and AOV’s. Using a new project we create Passes for all the key Shader types and look at how we can adjust the Data Outputs, Drivers and Filtering. We look at various additional passes such as Depth, Position and Normals. We also spend some time in Nuke looking at the Passes in more depth along with how to rebuild the beauty and use the over AOV’s.
We cover a mix of extra tools and functions that ship with Arnold. We start by looking at the ‘TX Manager’ used to convert texture files such as OpenEXR’s to Arnold Texture or .tx files. Next we look at the ‘Light Manager’ which can be used to control many aspects of the scene lighting along with enabling the user to create use Lights from within the managers UI. We also look at Rendering Deep EXR’s, working with Stand-In geometry and how you would create Fog and other Environmental effects.
lB6MwSwNNIYYHz66UqInBRH/video%20g/31353
Direct download links 2.8 GB :

Direct download link reserved for subscribers only This VIP
Dear user to download files, please subscribe to the VIP member
- To activate your special membership site, just go to this link and register and activate your own membership . >>>register and activate<<<
- You can subscribe to this link and take advantage of the many benefits of membership.
- Direct downloads links
- No ads No waiting
- Download without any limitation ، all content in website
CGArchives Is The Best
Review
Review
Review this tutorial