Blender VFX Tutorial: Rig & Animate a Realistic Car in Real
 Rig & Animate a Realistic Car
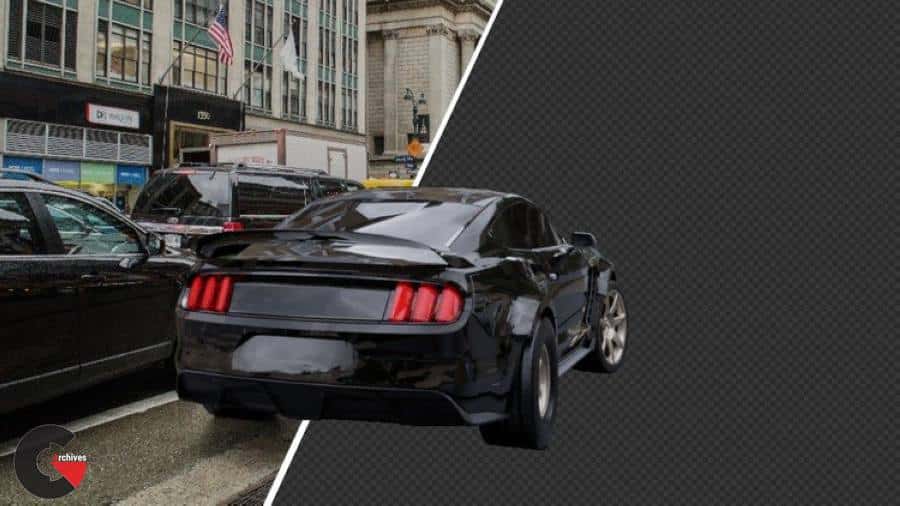
Blender VFX Tutorial: Rig & Animate a Realistic Car in Real : In this new tutorial we will learn to Make VFX effect by adding a Realistic Car into a real Background Image.
Requirements
- Blender Installed on your Computer
Part 1: Rig your Car Model
After downloading our vehicle, we need to separate the chassis and the wheels as separate objects
You can use the ‘L’ key to selection parts of your model, press ‘P’ to separate them
Now it order for CarRig addon to understand each part of our model, we need to give them specific names
- Chassis: we need to name it ‘car.body’
- Wheels: The order should go like this ‘car.Wheel.Bk.R’
- Front right wheel -> Car.Wheel.Ft.R
- Car.Wheel.Ft.L
- Car.Wheel.Bk.R
- Car.Wheel.Bk.L
Also make sure to leave the anchor point of each object to the center because we want the wheels to rotate around their center point
All is set by now, we can go ahead and Generate a Car Rig
Part 2 – Use fSpy to Get Right Perspective
We will import our background image into the fSpy and set the X axis to be aligned with the main road where our car will be moving on
Then we will export that .fSpy file and create the road with the sidewalk and Put our vehicle into that path
Part 3 – Realistic Lighting: Find the Right HDRI Map
Now this step is essential, we must find an HDRI that looks pretty close to our background scene
We should study everything: is it urban? How’s the weather.. is it rainy or sunny?
This is what’s gonna allow our CGI to blend into the background, otherwise it will look suspisious and our VFX will be easily spotted
We can also play with our background by adding the 2 nodes ‘Mapping & Texture Coordinates’ which gonna allow us to rotate our HDRI until the reflection of our vehicle matches it’s surroundings cars
Part 4 – Set VFX Settings
First we need to hide the road in the render Buuut we need to keep the shadow.. Without the shadow, the VFX will collapse no matter how good you put the other things
Select Road
Go to “Object Settings” and Choose Visibility.. Make sure you’re on Cycle engine, this effect doesn’t work in Eevee yet
From there you can check ‘Shadow Catcher’
The second setting you need to set is in the “Render Properties”, then “Film” and choose “Transparent”
Now if you render your scene, jump into the compositing and check ‘Use Nodes’ you will see our Car
Now it’s time to merge between our Alpha render and our Background
So let’s add an image node, choose the background and connect both nodes to an ‘Alpha Over’ and don’t forget to add a ‘Scale’ node set to ‘Render Size’
And Basically that’s it, you got your VFX working
Who this course is for:
- You want to Create Realistic Visual Effects in Blender
- You want to Learn Vehicle Rigging & Animation
- You want to Learn Lighting & Compositing in Blender
- You want to Master Camera Matching
What you’ll learn
- Create Realistic VFX Effcts in Blender
- Learn the 5 Rules for Having an Excellent Car Rig in Blender
- Master Camera Matching using fSpy to Match any Background Scale
- Learn to Set Realistic Lighting
- Advanced Compositing Tips & Tricks
- Realistic UV Mapping & Texturing
- Make Realistic Vehicle Animations
lB6MwSwNNIYYHz66UqInBRH/video%206/46537
Direct download links 1.08 GB :
Direct download link reserved for subscribers only This VIP
Dear user to download files, please subscribe to the VIP member
- To activate your special membership site, just go to this link and register and activate your own membership . >>>register and activate<<<
- You can subscribe to this link and take advantage of the many benefits of membership.
- Direct downloads links
- No ads No waiting
- Download without any limitation ، all content in website
CGArchives Is The Best
Review
Review
Review this tutorial
 Rig & Animate a Realistic Car


