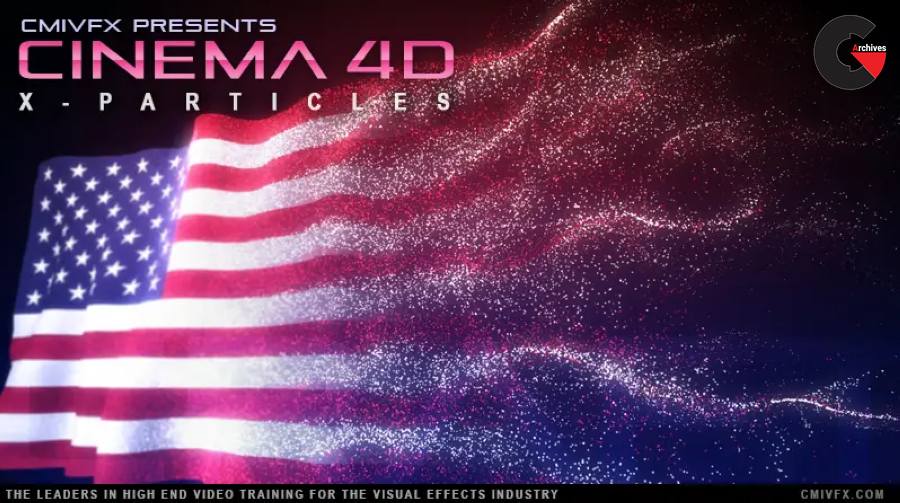
Cinema 4D X-Particles
 Cinema 4D X-Particles
Cinema 4D X-Particles : X-Particles, a powerful particle simulation plugin for Cinema 4D. This plugin is quickly becoming an indispensable tool for avid Cinema 4D users. Say goodbye to Cinema 4D’s “bare-bones” particle options and tricky Thinking Particles setup. Embrace X-Particles, the new standard for particle simulations from Insydium LTD. X-Particles unlocks a brand new world of potential in Cinema 4D for creating particle setups like snow, rain, dust, fluids, and abstract design concepts like bursts, streaks, tracers, and more. The possibilities are endless. In this training series, designer Michael Szabo will guide you through 10 chapters and 4 hours of X-Particle lessons, highlighting all the essential aspects of X-Particles that you’ll need to know. You’ll start at the beginning with basic concepts about cornerstone tools in X-Particles like emitters, skinners, sprites, and generators. Next, you’ll work your way up to more advanced techniques, using things like modifiers along with question and action setups. Near the end of the video, you’ll be able to breeze through more complex lessons that will show you how to combine each of the different tools in X-Particles for use in more sophisticated “combination projects,” and you’ll also incorporate advanced features like dynamics and fluids.
Chapter Descriptions
X-Particles Introduction
We’ll start off with an overview that explains why the X-Particles plugin is such a excellent tool for Cinema 4D and then we’ll see what’s in store for the remaining lessons.
The Emitter Object
This chapter explains the basis for all particle simulations in X-Particles: the Emitter object. We’ll learn most of the frequently used settings for our particle emitters and we’ll see how adjusting them affects the way that our particles enter our scene. These settings control everything from how many particles there are, how fast the particles move, how they look in the viewer, and much more.
X-Particles Objects
There are a variety of tools to examine in this chapter. Their usefulness depends mostly on the type of project or particle simulation that you’re looking to create. Many of these tools are used to create geometry and meshes for particles, which is an essential skill for designing particle systems. This chapter examines things like the generator, fragmenter, skinner, cache, and more. By the end of this chapter you’ll have a good understanding of what you can use in conjunction with your emitters to create certain particle effects.
Rendering Particles
In this lesson you’ll get the rundown on rendering your X-Particles projects. We’ll look over the render settings that are available to us in Cinema 4D and we’ll learn how to use the X-Particle Shader to style and create different materials so they fit with your particle emitters.
All About Modifiers
Working with modifiers will allow you to take your X-Particles project from just a simple particle emitter to a more complex and creative animation. This chapter shows you how to use modifiers like turbulence, gravity, cover/target, attractor, direction, and more so that you can have more sophisticated particle movements in your X-Particle projects.
Using Questions and Actions
In this chapter we’ll learn about questions and actions. This is an advanced way that X-Particles can trigger changes to your modifiers and objects. By using questions and actions, you can manipulate your particle behavior based on certain parameters like time, movement, speed, and much more. This gives you the ability to customize and enhance your particle work even further.
Combination Projects #1 – Digital Network
This is the first of the two combination projects that we’ll be doing. This project combines multiple components from X-Particles into one sample, where the goal is to create an expanding, tech-style digital network animation that would be incredibly difficult to achieve in Cinema 4D without X-Particles. This project uses trails, sprites, and multiple modifiers, and we’ll also set up some questions and actions to pull off the final effect.
Combination Project #2 – Magic Lamp
In the second combination project, the objective is to create a flowing particle effect to simulate a very organic, free-flowing, magical essence that will be coming out of a magic lamp. This project utilizes a lot of different modifiers, multiple particle emitters, and spawning emitters. Another key aspect of this lesson is learning how to make the particles change between different groups, which will allow us to have better control over the particles.
Understanding Dynamics
X-Particles allows you to make your particles dynamic so they can interact with other particles and with other dynamic objects in your scene. This chapter walks through all the different kinds of dynamic particle interactions that are possible in X-Particles.
Fluid Simulations
The final chapter examines fluids. It combines using the skinner object, which was featured in chapter 3, as well as some dynamics from the preceding chapter. We’ll be using an energy drink animation sample to create a flowing fluid that bounces around within a container as a component of a larger piece of animation.
lB6MwSwNNIYYHz66UqInBRH/video/11749
Direct download links 5.7 GB :

Direct download link reserved for subscribers only This VIP
Dear user to download files, please subscribe to the VIP member
- To activate your special membership site, just go to this link and register and activate your own membership . >>>register and activate<<<
- You can subscribe to this link and take advantage of the many benefits of membership.
- Direct downloads links
- No ads No waiting
- Download without any limitation ، all content in website
CGArchives Is The Best
Review
Review
Review this tutorial